
Chubby Face Long Layered Haircuts
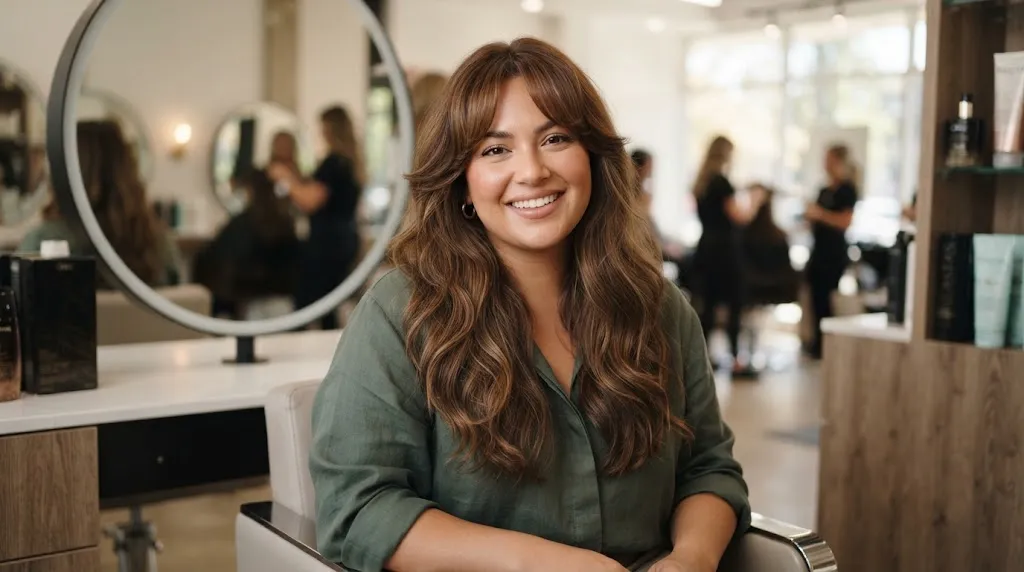
Long layered haircuts slim a fuller, chubby face by creating strategic vertical lines that draw the eye downward and elongate the overall silhouette. When cutting hair for this face shape, precision in where those layers begin and how volume is distributed makes all the difference between feeling weighed down and looking effortlessly balanced.
Layer Placement: Always start the longest layers below the chin or collarbone. Starting layers at the cheekbone adds horizontal width right where you want to create length.
Curtain Bangs: Integrate soft, cheekbone-skimming curtain bangs that part in the center or slightly off-center to create a diagonal framing effect, cutting down the roundness of the cheeks.
Crown Volume: Build subtle height at the crown using lightweight texturizing techniques or a flexible styling foam, which visually lifts the face rather than flattening it against the head.
Avoid Blunt Bangs: Steer clear of heavy, straight-across blunt bangs, as they chop the face in half horizontally and instantly accentuate fullness.
For more inspiration on how to adapt these foundational principles to different lengths and textures, you can explore the complete hairstyles hub on hairstylesusa.com.
Chubby Face vs Round Face — What is the Difference?

While “round face” and “chubby face” are often thrown around interchangeably in salon forums and blog posts, they present distinctly different architectural challenges when cutting long hair. A classic round face is defined by equal width and length with soft, curved angles at the jawline, but bone structure remains the primary factor. A chubby face involves a higher percentage of soft tissue, buccal fat padding, and submental fullness regardless of whether the underlying bone structure is oval, square, or round. When long hair is introduced, a standard round-face haircut often fails because it ignores how soft tissue responds to weight and gravity. Cutting layers on a round face focuses purely on geometric elongation, whereas cutting layers on a chubby face requires balancing vertical elongation with strict control over side bulk to prevent the cheeks from pushing hair outward and widening the silhouette.
What Defines a Chubby Face?

A chubby face features pronounced soft tissue deposits along the cheeks, jaw, and under the chin that create circular or pillowy contours, shifting the visual focal point to the center of the face. In the salon chair, I look specifically at where the face naturally widens: if the widest point sits across the lower cheeks and jaw due to soft tissue rather than high zygomatic bones, traditional face-framing layers cut at the cheekbone will actually push outward and accentuate fullness. Long hair magnifies this effect if the weight line sits flush against the widest part of the cheeks. Effective layering for this specific structure requires keeping the hair skimming close to the sides of the face while introducing internal movement that draws the eye downward past the chin, rather than outward toward the ears.
Quick Self-Check

Determining whether your face structure leans toward a tissue-softened chubby profile versus a structured round shape requires a few simple observational steps:
Look straight into a mirror with your hair pulled completely back and trace the outer perimeter of your face with a washable marker on the glass; if the shape forms an even circle where the width across your cheeks matches the distance from your hairline to your chin, you fall into the round category.
Smile widely in the mirror and observe where your face expands; if the expansion is driven primarily by soft tissue puffiness over the cheek apples rather than hard bone protrusion, your primary styling concern is soft tissue volume.
Feel your jawline and cheeks with your fingertips; if the jaw angle is obscured by soft padding rather than a distinct bone corner, you have a chubby face profile that requires weight-removal techniques rather than standard round-face geometry.
How Long Layers Work for a Fuller Face
Long layers create vertical lines and draw the eye downward, which visually elongates a fuller or rounder face shape. When hair falls uniformly at one length around the jaw or cheeks, it widens the face by adding horizontal emphasis. Strategic layering removes bulk from the sides and introduces movement that slims and balances the proportions.
Vertical Line Principle

The vertical line principle relies on creating unbroken downward pathways using hair strands that drop past the chin and shoulders. To achieve this effect, the longest portions of the haircut must remain concentrated at the perimeter while interior sections are graduated to remove weight near the cheeks. In the salon chair, this means cutting the hair with vertical elevation rather than pulling sections straight out horizontally. This technique prevents the layers from expanding outward into a shelf-like or boxy shape, ensuring the silhouette flows vertically rather than horizontally.
Where Layers Should Start
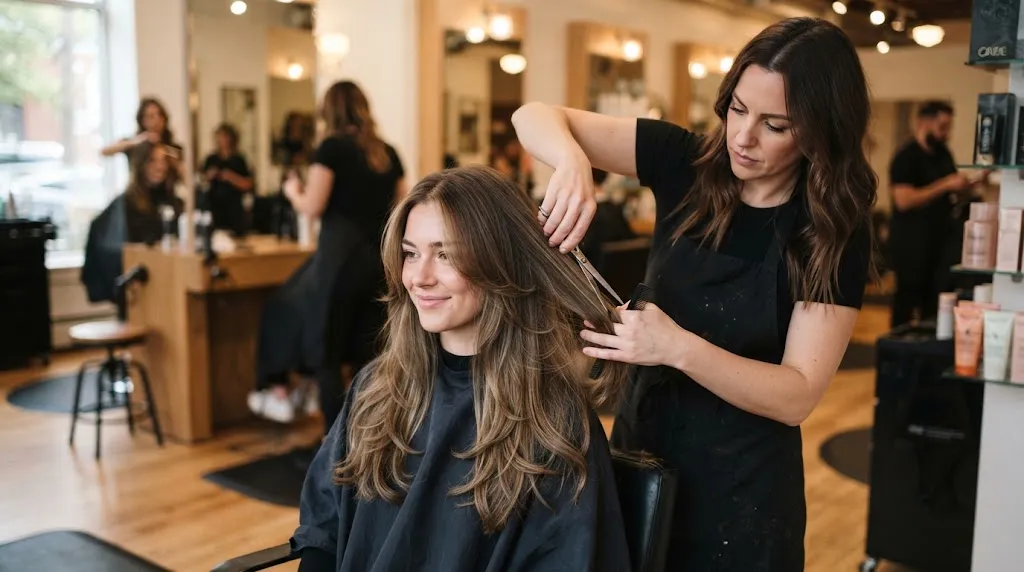
Layers on a fuller face must always begin below the chin to avoid accentuating the widest part of the face. Starting layers at the cheekbone or jawline creates an immediate horizontal line that widens the face and draws attention to the cheeks.
First layer placement: Begin the shortest interior layer at least two to three inches below the chin line, allowing the hair to skim the jaw without adding volume there.
Graduation flow: Blend subsequent layers progressively downward toward the ends to maintain smooth movement without creating gaps in density.
Face-framing integration: If incorporating soft face-framing pieces around the front, bevel the ends inward toward the collarbone so they create a narrow, elongating frame rather than a rounded curve.
Best Long Layered Hairstyles for Chubby Faces
Face-Framing Layers
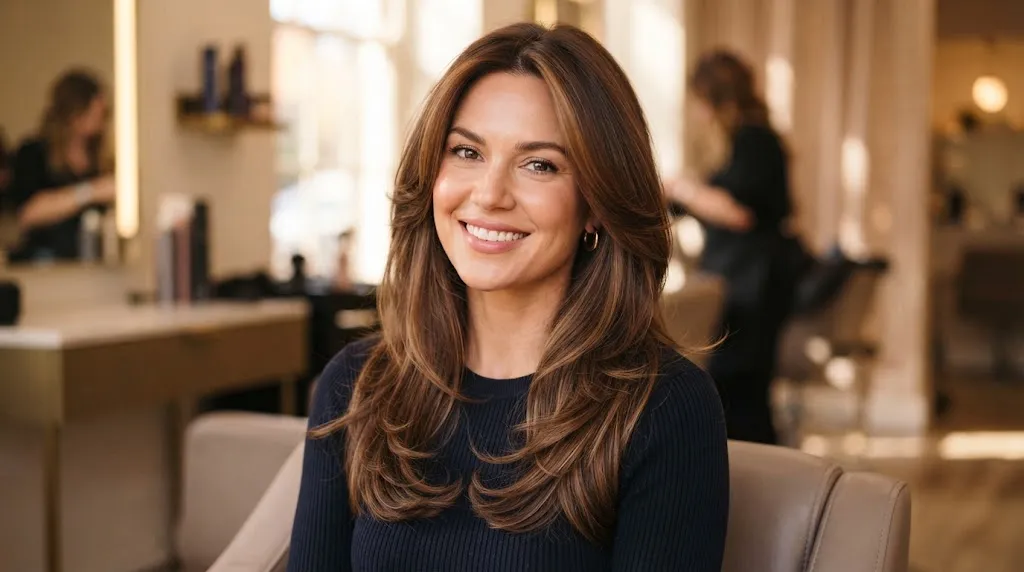
Face-framing layers built for a fuller face must begin below the jawline to avoid adding width right at the cheeks. When I cut these in the salon, I angle the shears downward starting at the collarbone, creating a sleek vertical channel that draws the eye straight down. This technique visually slims the widest part of the face without sacrificing overall length.
Curtain Bangs with Long Layers

Curtain bangs offer an ideal softening effect for a chubby face by creating diagonal lines that cut across the upper cheeks. The shortest point of the fringe should hit right at the outer corner of the eye or cheekbone, then sweep seamlessly backward into the rest of the long layers. Blow-drying these forward and rolling them outward with a round brush creates an open, narrow frame that balances softer facial curves.
The Butterfly Cut

The butterfly cut achieves its slimming effect through two distinct tiers: shorter, face-framing pieces that mimic a bob around the chin, and longer layers that cascade past the shoulders. This stark separation gives the illusion of volume on top while keeping the sides sleek and narrow against the jaw. It works exceptionally well for thick hair textures that need weight removed from the sides of the face.
Long Wavy/Textured Layers

Straight, heavy hair can sometimes accentuate width, so adding loose, vertical waves breaks up horizontal lines across the cheeks. I advise clients to use a medium-barrel curling wand, wrapping hair away from the face starting mid-shaft, leaving the ends straight to preserve length. A lightweight texturizing spray applied to the mid-lengths prevents the waves from collapsing into a wide, uniform halo.
Layered Lob

For those transitioning from longer styles to a medium-length cut, the layered lob (long bob) offers a sharp vertical silhouette that stops just below the collarbone. Keeping the baseline blunt while internal layers debulk the sides prevents the hair from flaring outward at the jaw. This length hits the sweet spot for a medium chubby face by elongating the neck and creating a clean, structured vertical line.
Side-Swept Layered Cut

A deep side part instantly disrupts symmetry and adds height at the crown, which visually lengthens a round or fuller face. The primary layer sweeps diagonally across the forehead and blends into long cascading layers down one side. Styling this requires blow-drying the root upward and across to lock in maximum elevation at the part.
More Looks to Explore
Styling by Hair Texture
Straight Hair

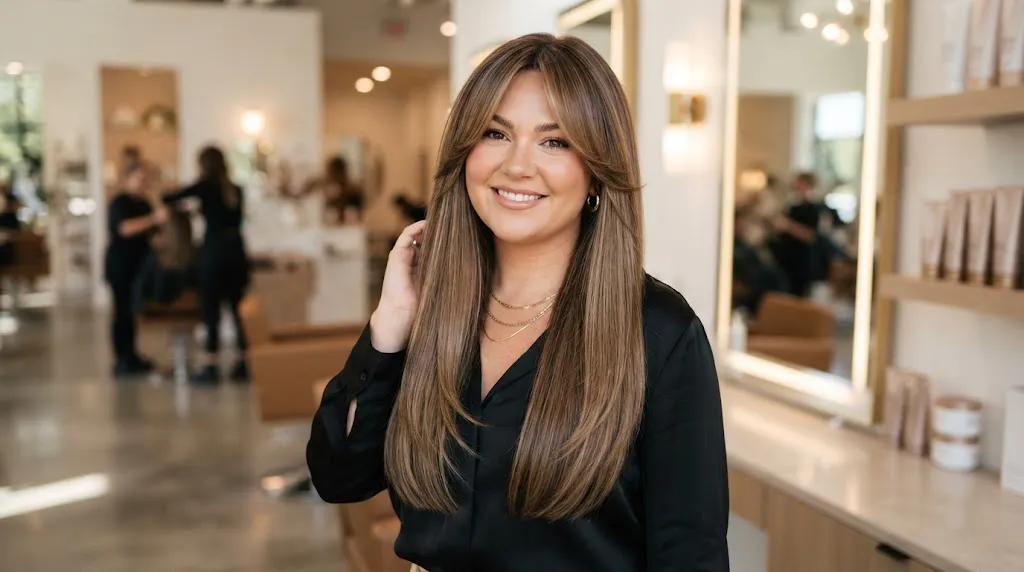
Straight hair lacks natural volume and can easily cling flat against the sides of the face, which can unintentionally emphasize fullness and width. To counteract this on a fuller face, the goal is to introduce controlled movement and prevent the hair from hanging like a heavy curtain.
Layer Placement: Keep your shortest framing layers starting below the chin line. Starting layers any higher—such as at the cheekbones—will create a horizontal widening effect right where you want the opposite.
Internal Weight Removal: Ask your stylist to slice or point-cut the interior ends. This removes blunt bulk, allowing the hair to curve inward slightly toward the collarbone rather than sticking straight down.
Finishing Technique: Blow-dry using a large round brush, directing the front pieces slightly forward and inward toward the neck to create a soft, vertical framing channel.
Wavy Hair
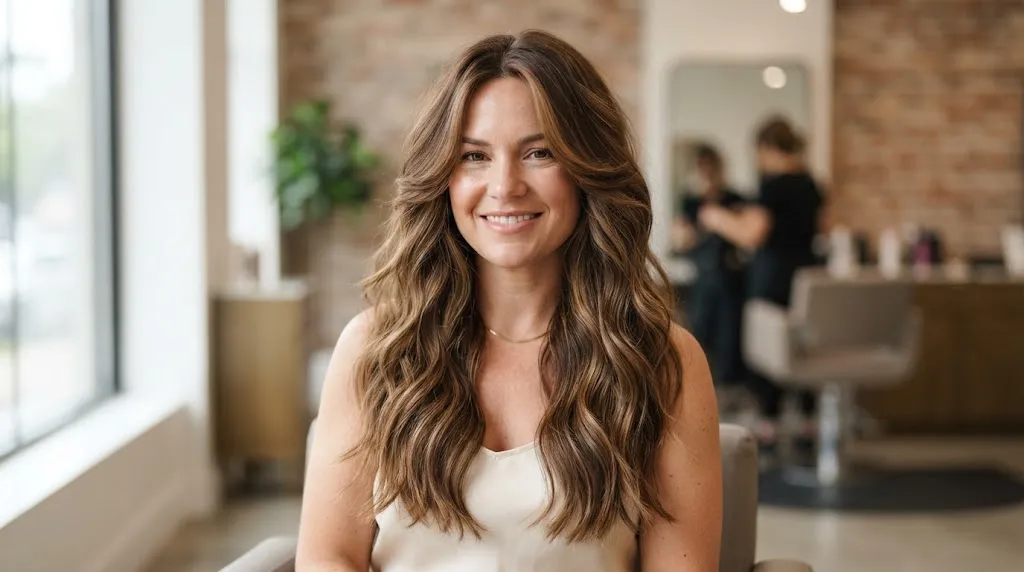
Natural waves provide built-in dimension, but they can easily puff outward at the wrong spots, adding unwanted width to the cheeks and jawline. The key to handling waves on a fuller face is controlling where the expansion happens.
Layer Placement: Long, cascading layers that begin around the collarbone work best. This ensures the volume concentrates below the jaw rather than sitting level with the widest part of the face.
Weight Distribution: Avoid choppy, aggressive short layers, which can cause wavy hair to balloon outward like a triangle. Instead, opt for slide-cut layers that encourage the waves to stack vertically.
Finishing Technique: Apply a lightweight, flexible-hold defining cream to damp mid-lengths and ends, then scrunch upward gently while diffusing on a low-speed setting to keep the wave pattern elongated rather than wide.
Curly Hair

Curls naturally expand outward, which means a standard layered cut can easily turn into a round sphere that accentuates a round face shape. Controlling the silhouette requires shaping the curls into an oval or teardrop form rather than a circle.
Layer Placement: Long, interior vertical layers are essential to debulk the sides while maintaining length at the bottom. The longest layers should drop well past the shoulders to weigh the curls down.
Shape Control: Avoid blunt, one-length cuts and heavy horizontal bangs. Instead, request a tiered, graduation-style cut that removes density around the ears and redistributes it toward the ends.
Finishing Technique: Work a hydrating curl-elongating cream through soaking wet hair in sections, pulling downward slightly on the front pieces as you set them to encourage vertical drop instead of horizontal puffiness.
Thick vs Thin Hair
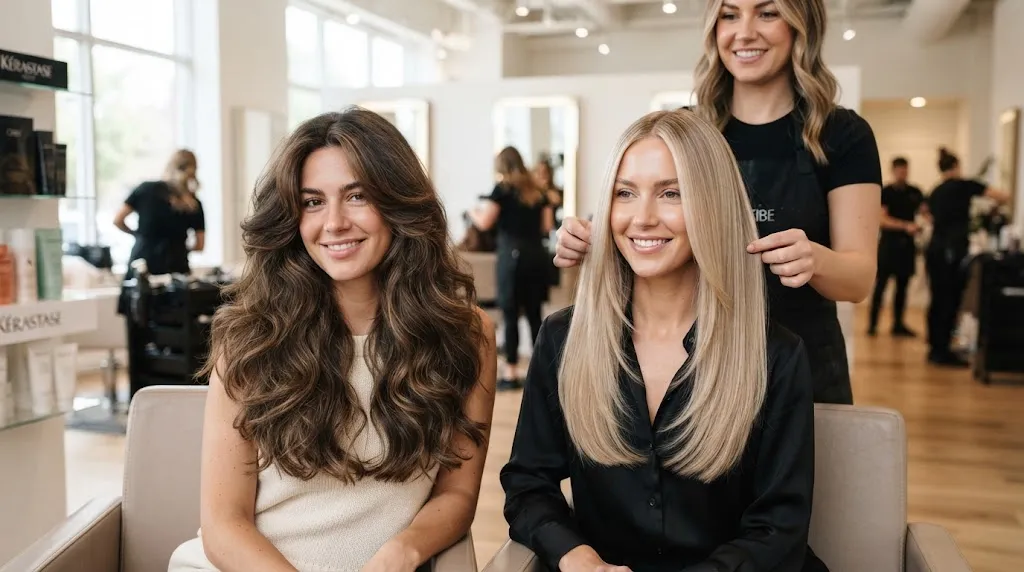
Managing density is just as important as managing texture when balancing a fuller face. The approach shifts completely depending on whether you have an excess of hair weight or a lack of it.
Thick Hair: Thick hair carries heavy bulk that can widen the silhouette. Your stylist needs to use deep point-cutting and vertical internal slicing to hollow out heavy zones, ensuring the hair lies flat against the neck and shoulders instead of puffing out at the cheeks.
Thin Hair: Fine or thin hair lacks the density required to support traditional heavy layering without looking stringy. Keep layers minimal and long—focusing only on the bottom few inches—and use micro-layering strictly around the face to create the illusion of fullness without sacrificing perimeter density.
Maintenance: Thick hair requires weight-reduction trims every 8 to 10 weeks to prevent bulk from creeping back up to the jawline, while thin hair benefits from blunt perimeter dustings every 6 weeks to keep the ends looking dense and healthy.
Long vs Medium Layers — Which Option Flatters a Fuller Face Best
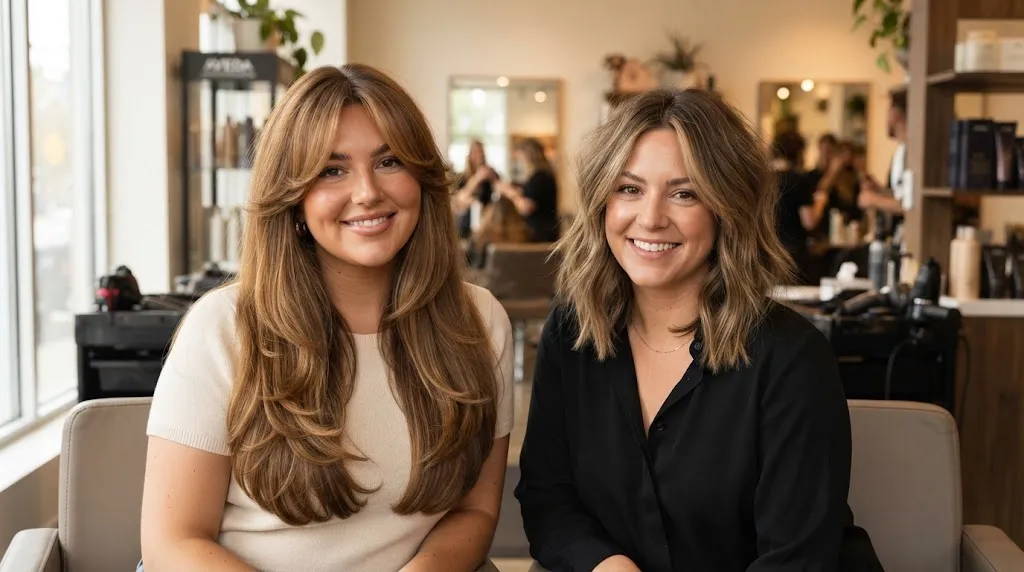
| Length | Best For | Maintenance Level |
|---|---|---|
| Long Layers | Elongating round or full face shapes, creating vertical lines, maintaining overall length. | Medium (requires regular trims to keep ends healthy and avoid stringiness). |
| Medium Layers | Adding maximum volume and body, shorter styling times. | High (requires frequent blowout styling to prevent the ends from flipping outward against the cheeks). |
Inconsistent results usually trace back to eyeballing your product amounts and soaking wetness levels. Grab a digital kitchen scale for your styling creams or start using measured pump dispensers so you can replicate your exact wins in the chair.
What to Avoid
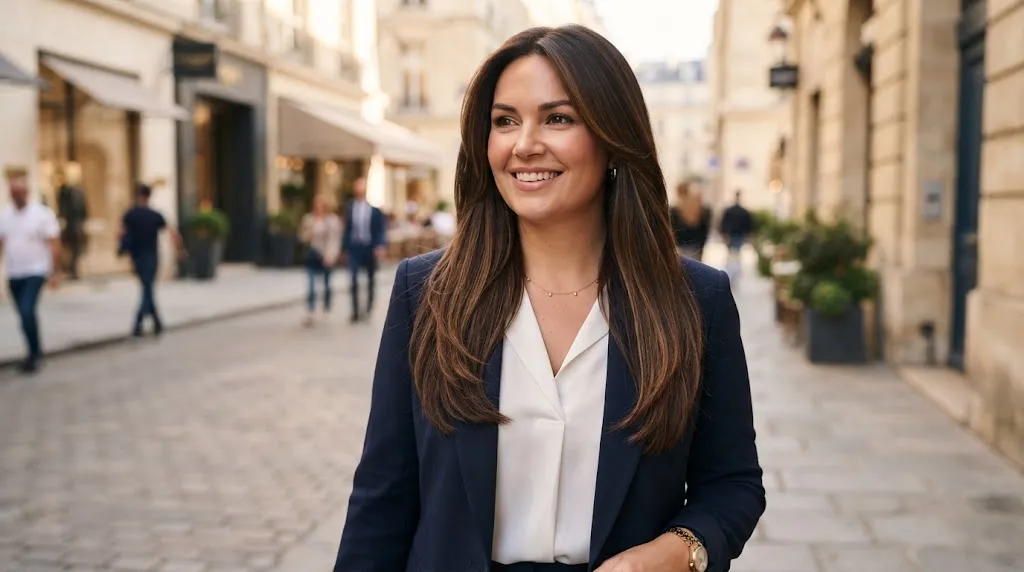
Avoid layers that start at the cheekbone or jawline, as these create horizontal width and make a fuller face appear wider.
Blunt, chin-length ends: A solid, one-length line right at the jaw creates a heavy shelf that draws the eye directly to the widest part of the face.
Heavy, straight-across bangs: Full bangs cut the face in half horizontally, shortening the overall vertical line and emphasizing fullness in the cheeks.
Extreme volume at the sides: Teasing or blowing out the hair directly outward around the ears adds unwanted width to a soft jawline.
Super-short crown layers: Over-layering the top of the head while keeping the ends thin can create an unbalanced, mushroom-like shape that distorts natural proportions.
Styling Tips & Home Routine
Mastering the Blow-Dry for Vertical Elongation
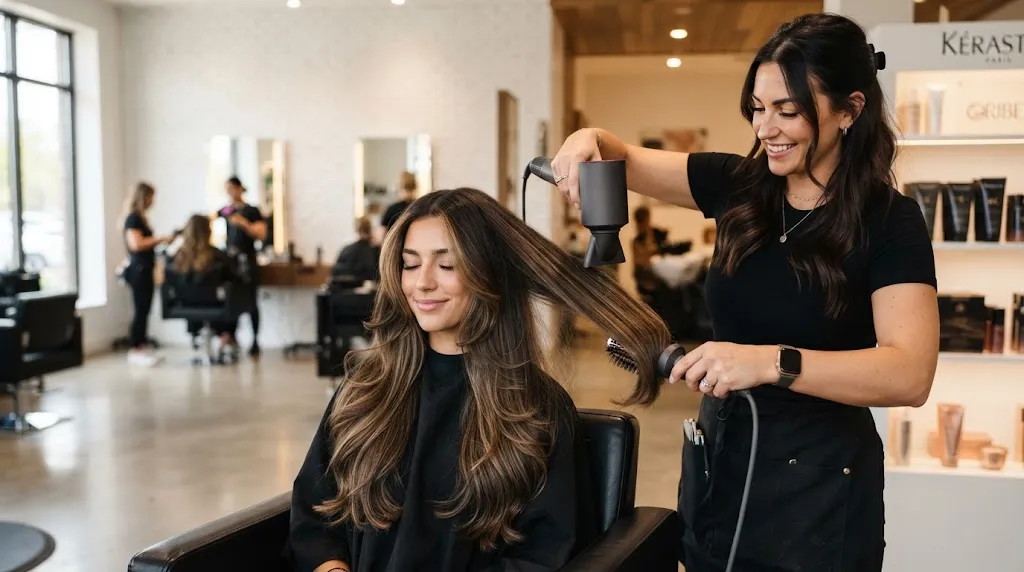
Achieving a slimming effect on a fuller face starts the moment you turn on the blow-dryer. In the salon, I always instruct clients to direct airflow downward from the crown rather than diffusing outwards, which adds unwanted width at the sides.
The Concentrator Nozzle Method: Attach a nozzle to your blow-dryer to direct the air straight down the hair shaft. This flattens the cuticle, reduces frizz, and forces the long layers to hang vertically, creating the illusion of height.
Round Brushing the Front: Use a medium-to-large round brush strictly on the face-framing pieces. Pull the hair forward and down past the chin before rolling it slightly inward at the very ends. Never roll the brush outward toward your cheeks, as this flares the hair out and widens the face.
Root Lift at the Crown: To add height at the top of the head—which visually balances a wider jawline—lift sections at the crown straight up with your fingers or a vent brush while drying. Lock the volume in place with a cool shot of air for five seconds before releasing.
Product Selection and Application Technique
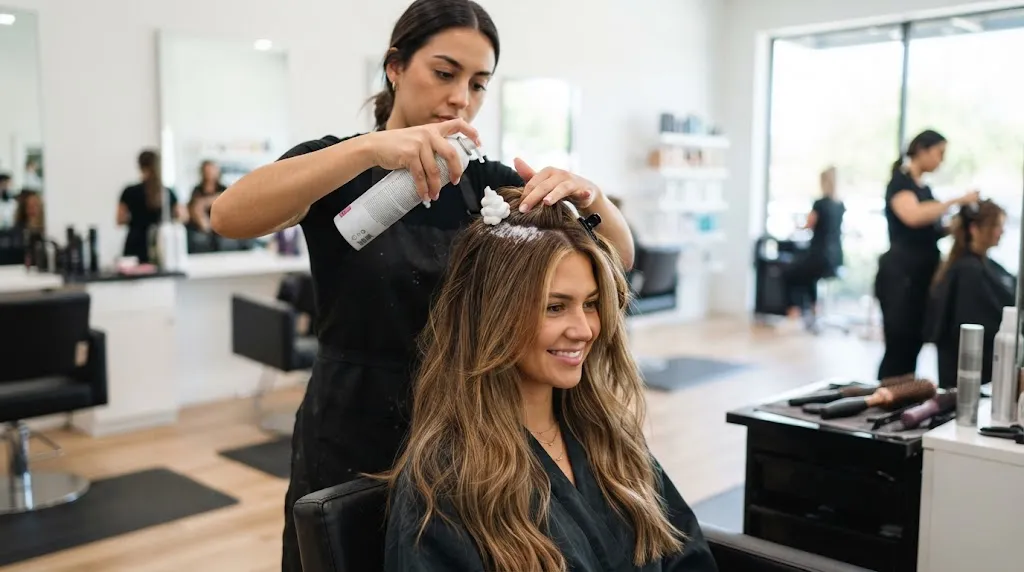
The right styling products keep long layers fluid and moving without weighing the hair down or making it stiff. When hair becomes heavy or sticky, it clings to the sides of the face, accentuating roundness rather than skimming past it.
Lightweight Volumizing Mousse: Apply a golf-ball-sized amount of a lightweight, alcohol-free volumizing mousse exclusively to damp roots from the crown to the ears. This provides structural lift without compromising the soft movement of your mid-lengths and ends.
Flexible-Hold Blow-Dry Spray: Mist a heat-protecting, flexible-hold blow-dry spray through the mid-lengths and ends before styling. Avoid heavy silicones or dense oils near the face, as they attract dirt, weigh down the delicate face-framing layers, and cause the hair to separate flat against the cheeks.
Finishing Texturizing Mist: Once dry, finish with a dry texture spray or a ultra-fine aerosol hairspray sprayed onto your fingertips, then lightly piece through the ends of your layers. This creates separation and lightness, ensuring the hair looks touchable and airy rather than helmet-like.
Maintenance Between Salon Visits
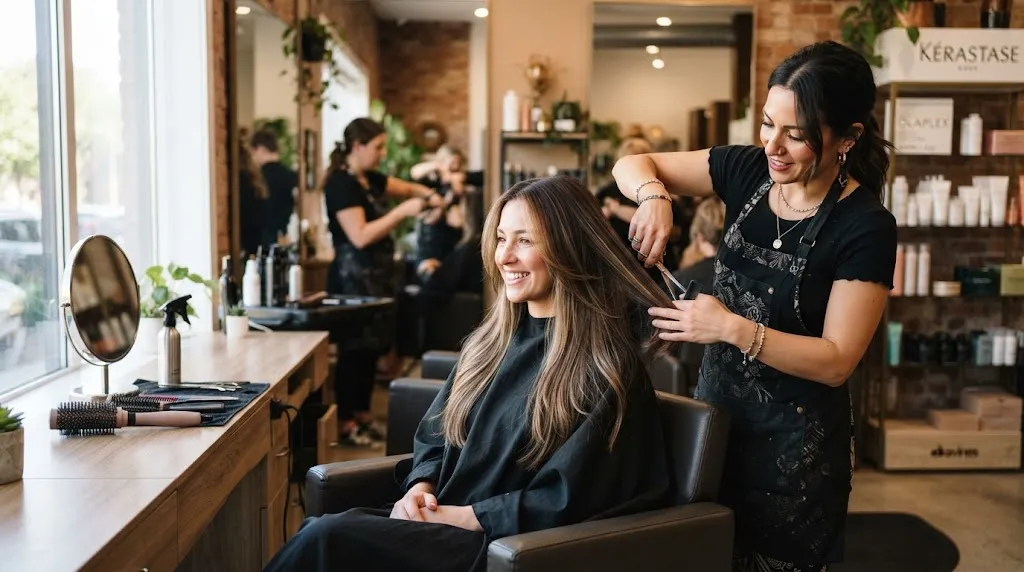
Long layered haircuts require strategic home maintenance to keep the shape from looking heavy or dragging the face down as it grows out.
Face-Framing Touch-Ups: The layers closest to your jawline and chin grow out of alignment the fastest. You can stretch time between appointments by using a large-barrel styling wand to bend those front pieces away from the face, which instantly opens up the cheekbones.
Deep Conditioning the Ends: Because long hair takes time for natural oils to travel down, keep your ends hydrated with a weekly moisture mask applied strictly from the mid-shaft down. Split, dry ends clump together and create horizontal bulk near the shoulders, which visually widens the lower half of the face.
Sleeping Protection: Prevent tangles and friction breakage that disrupt your layer alignment by sleeping on a silk or satin pillowcase, or loosely gathering your hair in a high, loose pineapple ponytail using a soft silk scrunchie.
Real User Problems & Face Variations
Fuller Jawline / Double-Chin Concern

Layers that terminate directly at the jawline act as a horizontal framing device that widens the lower face and draws immediate focus to a fuller chin. In the chair, the correction requires dropping the shortest interior layers well below the jaw—typically starting around the collarbone—while keeping the outer perimeter intact to maintain vertical weight. This pulls the eye downward along the neck rather than cutting across the widest point of the jaw.
Thin Hair Density
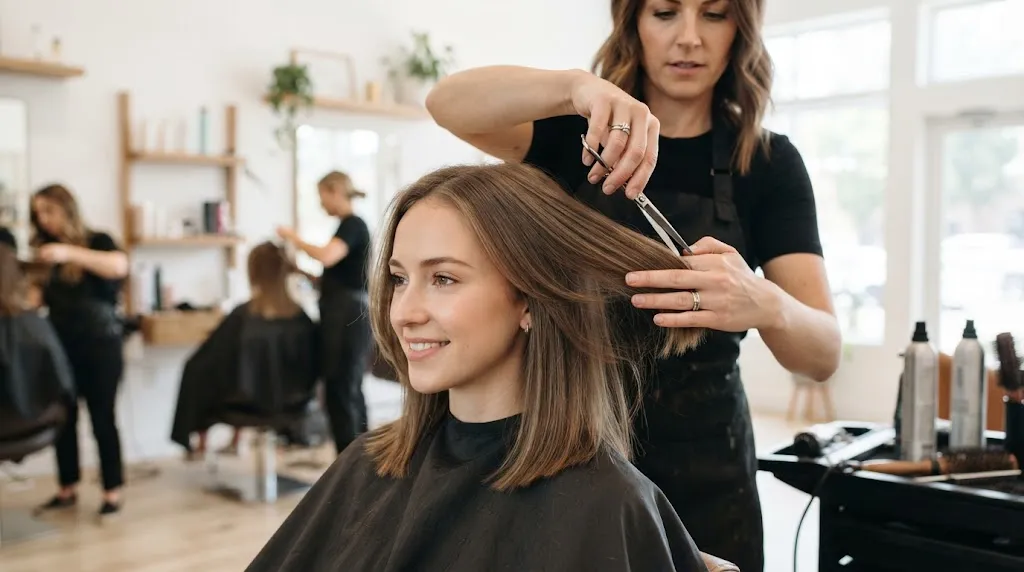
Fine or low-density hair cannot support aggressive, multi-tiered stacking without looking stringy and exposing the scalp around the crown. The approach here relies on long, soft transition lines and blunt perimeter ends that create the illusion of heavy thickness while preserving maximum volume at the roots. Cutting internal texture channels too aggressively removes the structural support needed to keep fuller-looking long hair on a rounder face shape.
Glasses Wearers

Frames that sit wide across the temples or feature heavy rims frequently push face-framing layers outward, distorting the natural fall of the hair and widening the upper cheek area. The structural fix involves carving a slight concave curve into the front sections just past the temple break, allowing the hair to glide smoothly over or behind the arms of the frames without bulging. This prevents the hair from pressing against the glasses and keeps the vertical framing intact from eye level down to the collarbone.
Add Your Heading Indian Hair Texture ConsiderationsText Here
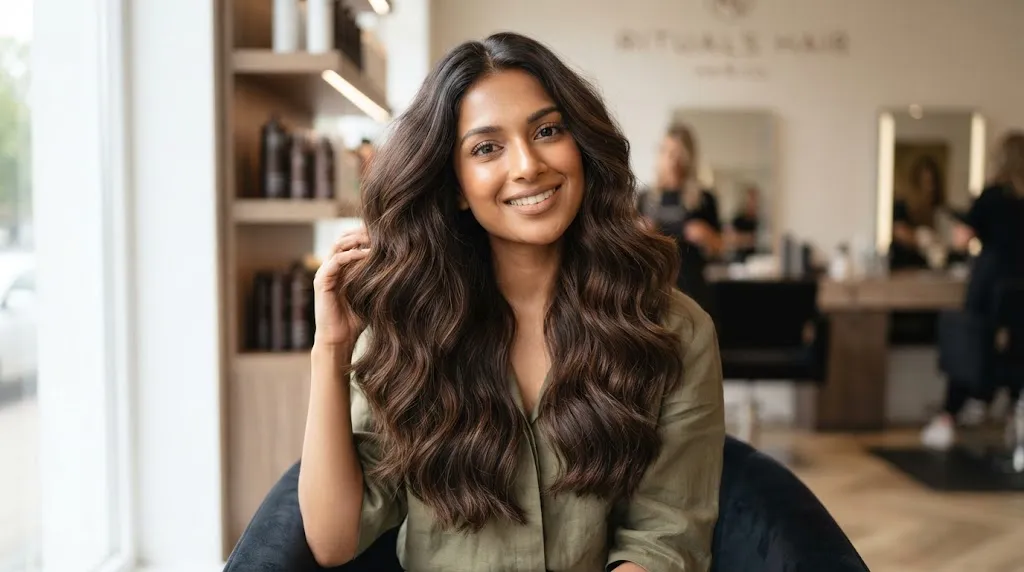
Dense, coarse, or naturally wavy hair common across South Asian textures possesses high volume and strong natural curl memory that can easily balloon outward into a heavy triangle shape on a fuller face. Taming this density requires deep internal weight-removal techniques and long slide-cut layers that encourage the hair to drop straight down rather than puffing at the sides. Cutting must be performed on dry or lightly controlled hair to accurately assess spring-back and prevent unexpected bulk expansion at the cheekbones.
What to Tell Your Stylist: The Exact Consultation Script

Bring this exact terminology to your chair so your stylist cuts with the specific angles needed for a fuller face, rather than defaulting to generic long layers that widen the cheeks.
The Starting Point: “Please start my longest interior layers right below the chin line, not higher up near the cheekbones. I want to draw the eye downward to elongate my face shape.”
The Framing Strategy: “Cut soft, cascading face-framing pieces that skim past my jawline and collarbones. Avoid any heavy layering or blunt volume sitting directly next to my cheeks.”
The Weight Removal: “Keep the ends of my hair looking dense and healthy, but remove internal bulk so the mid-lengths don’t puff outward and add width to the sides of my face.”
The Parting Preference: “I wear my part on the [left/right/middle], so tailor the graduation of the face-framing layers to fall naturally away from that specific division without exposing the temples.”
When sitting in the chair, communication breaks down when clients use vague terms like “just give me some layers.” Stylists interpret that differently based on daily habit. Giving exact anatomical landmarks like the collarbone and chin prevents the common mistake of cutting the shortest layer right at the widest part of the face, which inadvertently creates horizontal width where you want vertical elongation.
Haircuts & Styling for Fuller Faces Q&A
What haircuts look flattering on a chubby face? ▼
Is long hair good for chubby faces? ▼
Is layered hair good for a round face? ▼
Do fuller faces look better with short or long hair? ▼
What hairstyle to avoid with a chubby face? ▼
What hair length is best for a chubby face? ▼
What hairstyles make a round face look slimmer? ▼
Does shorter or longer hair make your face look slimmer? ▼
How can I make my round face look slimmer? ▼
How to style short hair with a chubby face? ▼
What does the 3:2:1 haircut rule mean? ▼
Final Verdict / Action Plan
Choosing the right long layered haircut for a fuller or rounder face comes down to executing three non-negotiable structural rules in the chair: dropping your shortest face-framing pieces strictly below the chin line, building vertical weight to elongate your profile, and matching your layer distribution directly to your hair’s natural texture. If your layers start at the cheekbone or jaw, you are adding unwanted horizontal width right where your face is naturally widest.
To turn this guide into an actionable game plan for your next salon visit, use this checklist:
Audit your current cut: Check where your shortest layers currently fall. If they sit above your jawline, commit to growing them out past your chin before adding new long layers.
Define your texture priority: If you have fine hair, request internal weight-preserving layers with blunt ends to avoid a stringy look. If you have thick or curly hair, ask for slide-cutting and debulking to prevent a triangular silhouette.
Print or save visual references: Bring photos that explicitly show long layers starting low, below the collarbone, rather than generic medium-length cuts.
Consult your stylist on maintenance: Agree on a trim schedule every 8 to 12 weeks to keep your ends crisp and prevent your layers from collapsing or losing their vertical drop.
When you sit down in the chair, hand your stylist your reference photos, communicate your texture challenges honestly, and insist on keeping the perimeter long and heavy while the internal structure does the work of slimming and framing your face.
Explore More Hairstyles
Keep browsing cuts and styling ideas by length, texture, and face shape.
Length & Texture Variations
References
- L'Oréal Paris USA — Guidance on selecting long layered haircuts and face-framing techniques tailored for round face shapes.
- Latest Hairstyles — Professional insights on vertical elongation and layer placement to flatter fuller facial features.
- FabMood — Visual styling references and modern examples of long layered hairstyles for soft, balanced contours.