
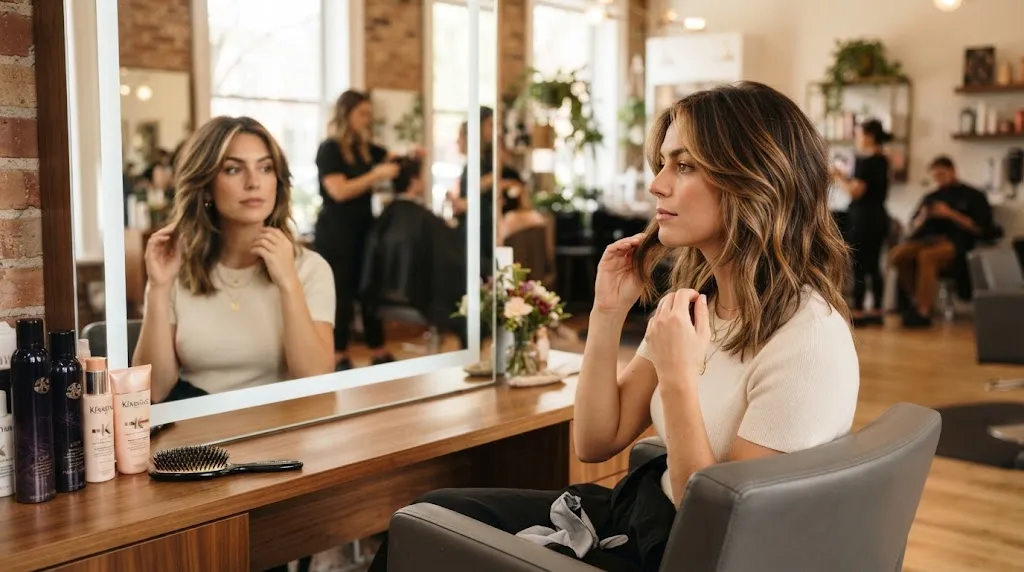
Regret after a layer cut almost always comes from one of two things: the layers were heavier than expected, or the length lost around the face felt more dramatic once styled. If the layers are simply too aggressive, the fastest recovery is to keep styling them smoothed under with a round brush for a few weeks — this softens how visible the layering looks while length grows back in. If you genuinely dislike the shape, avoid re-cutting again within the first two weeks; a second correction on top of a fresh cut tends to remove even more length. Instead, give it a month, since layers often “settle” and look softer once the sharpest edges grow out slightly.
Layer Cut Pics — [X]+ Real Layer Cut Photos by Length, Texture & Face Shape
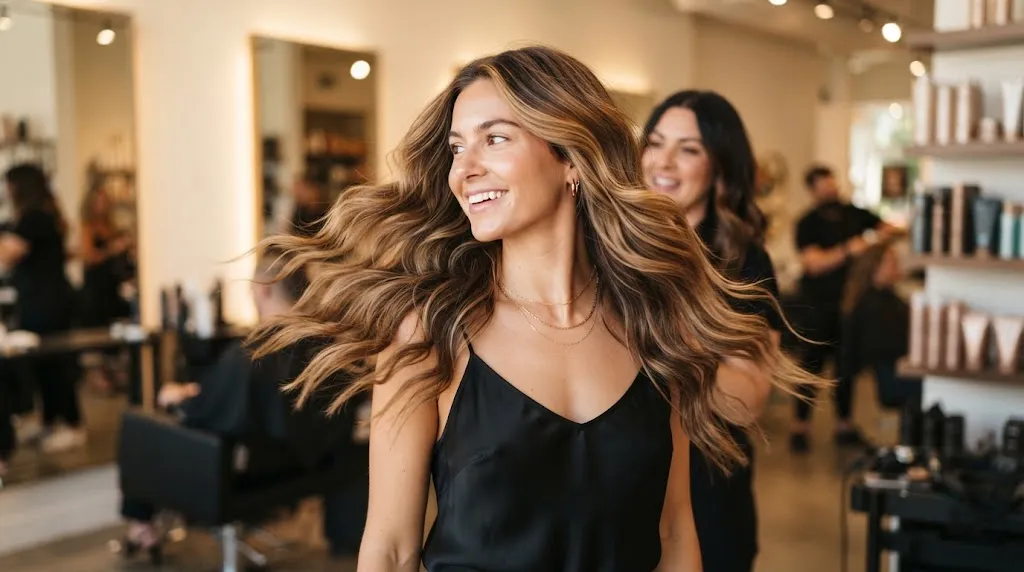
Layer Cut at a Glance
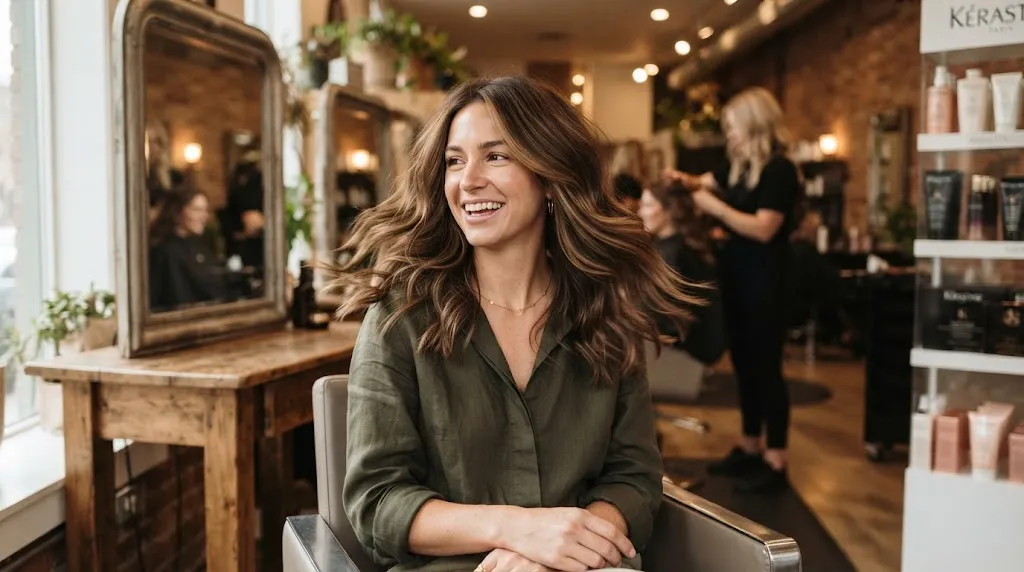
A layer cut is a foundational hair-cutting technique that incorporates varying lengths throughout the mane to add movement, dimension, and shape, making it universally flattering for almost every face shape and hair type.
Fine hair: Short and medium layers create the illusion of fullness and structural volume.
Thick hair: Strategic internal layering removes excessive bulk and lightens heavy manes.
Versatility: The technique adapts seamlessly to short crops, lobs, and extra-long strands across straight, wavy, and curly textures.
Maintenance: Upkeep varies from low-maintenance long layers to high-precision short cuts requiring regular trimming.
| Layer Type | Ideal Length | Primary Benefit |
|---|---|---|
| Short Layers | Pixie to Bob | Maximizes volume and crown lift |
| Medium Layers | Lob to Collarbone | Enhances natural wave and movement |
| Long Layers | Mid-Back and Below | Removes weight while preserving length |
To find the right variation for your specific texture and face shape, browse our full hairstyle collection to explore comprehensive visual guides.
Layer Cut Pics by Hair Length
Layer Cut Pics by Hair Length
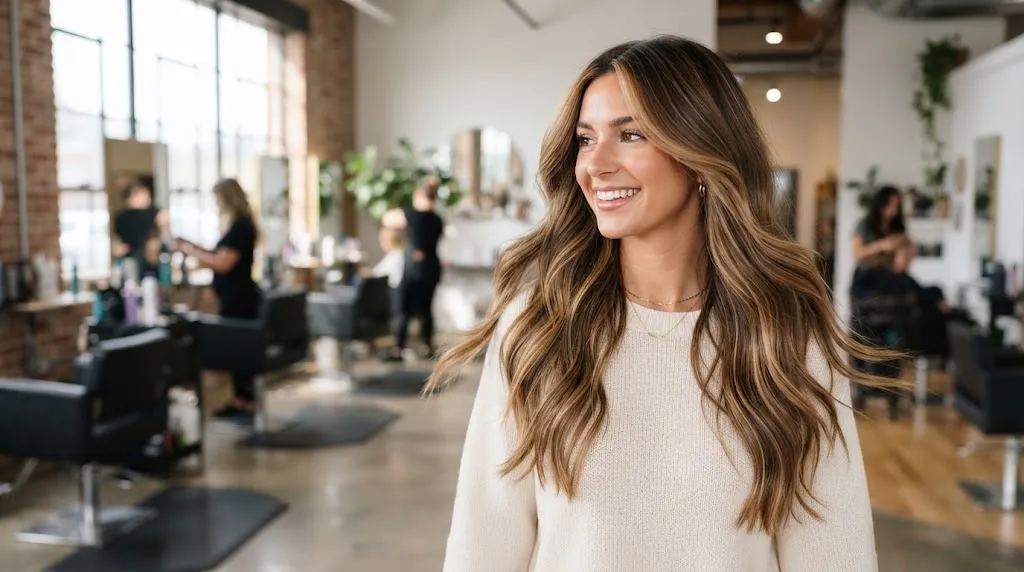
Long layers remove heavy bulk while preserving overall length, making them ideal for adding natural swing and preventing a weighed-down look.
Image Gallery: Visual examples showcase waist-length hair with V-cut and U-cut perimeters, featuring face-framing layers starting right below the chin to accentuate the jawline.
Best for: Thick, dense, or long hair types that need extra movement and reduced weight at the ends.
Medium Length Layer Cut Pics
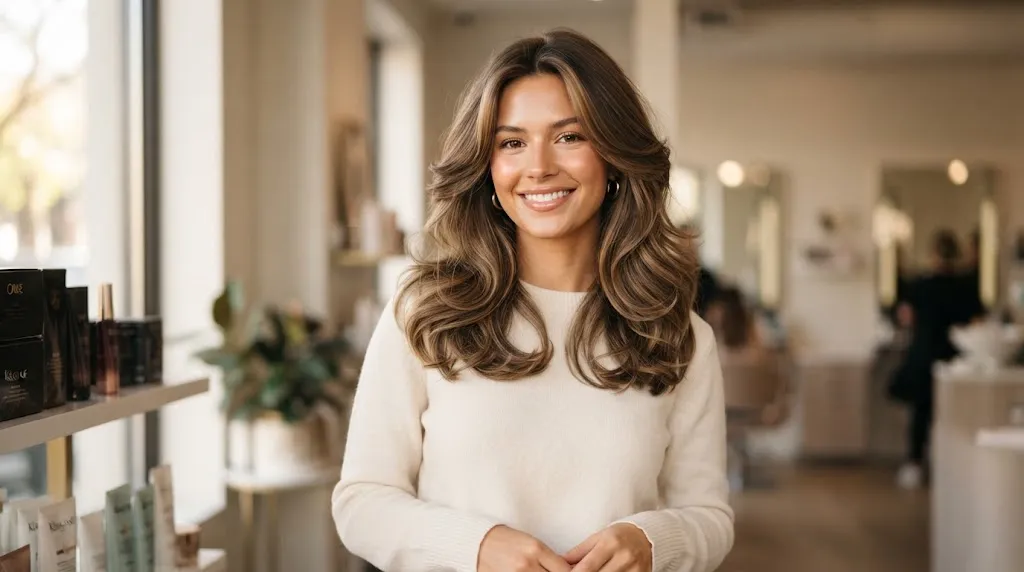
Medium layers introduce dynamic texture and bounce to shoulder-grazing styles, perfectly bridging the gap between sleek precision and effortless volume. For a full breakdown of styling options, see our comprehensive guide on medium hair styles for women or explore trendy ideas for teens and young adults in our medium hair cut for girls collection.
Short Length Layer Cut Pics
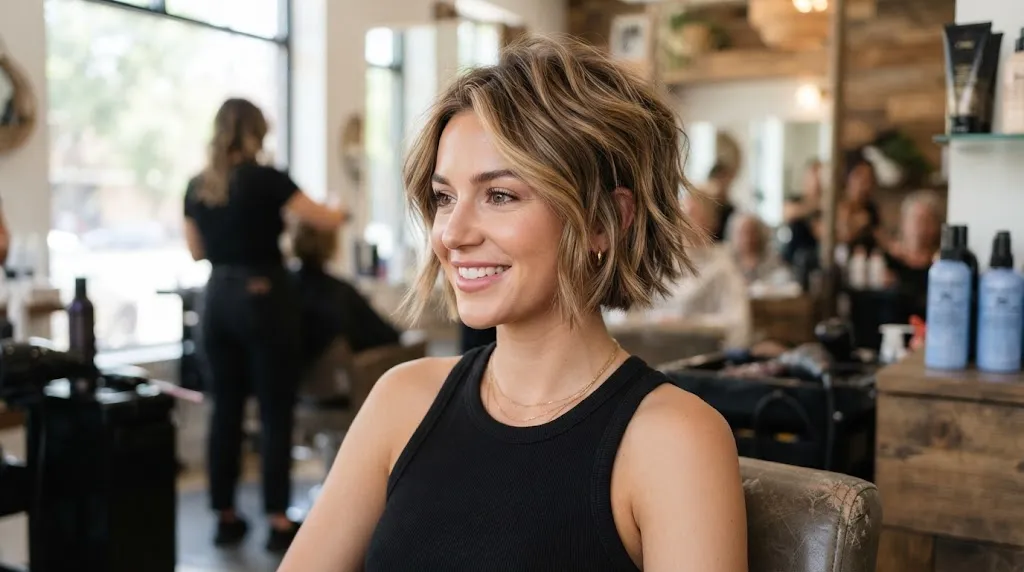
Short layers build intense dimension and structural shape into crops, bobs, and pixie cuts, preventing a flat, boxy finish.
Image Gallery: Visual examples display stacked bobs and textured crops with piece-y crown layers that create natural lift and directional movement.
Best for: Straight or wavy short hair that requires built-in texture, height at the crown, and low-maintenance daily styling.
Layer Cut Pics by Hair Texture
Layer Cuts for Straight Hair
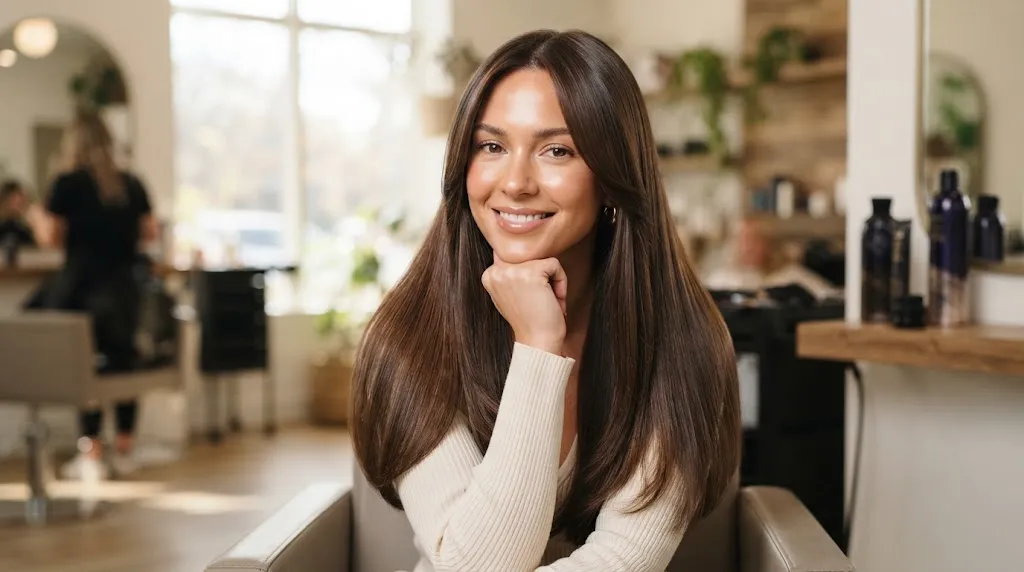
Straight hair lacks natural volume and bends, meaning every single cutting line is completely exposed. Without proper graduation, blunt straight hair can make layers look rigid, heavy, or segmented like steps rather than a seamless flow. When looking at layer cut pics for straight hair, notice how long, slide-cut face-framing pieces and subtle interior graduation build movement without sacrificing density at the ends. For a smooth transition, internal texturizing removes bulk while maintaining a polished finish, which you can explore further in our guide to hairstyles for straight hair.
Layer Cuts for Wavy Hair
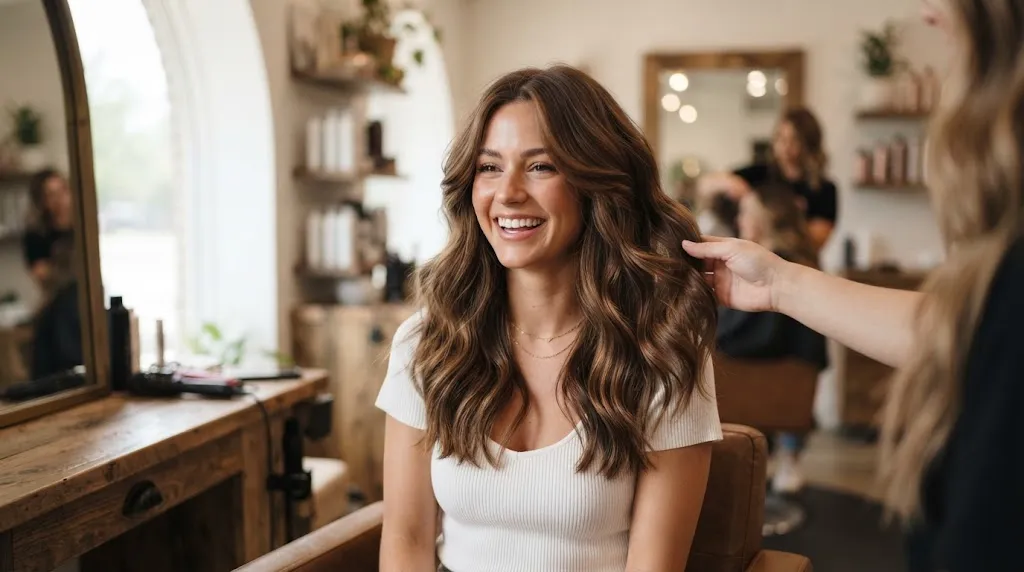
Waves thrive on movement, and layers act as an internal scaffolding to help natural bends lift rather than pull downward. On wavy textures, blunt cuts often create an unwanted triangle shape because the hair puffs out heavily at the bottom. Strategic layering removes weight from the mid-lengths and ends, allowing natural wave patterns to stack and interlock cleanly. Visual examples of layered wavy cuts highlight how point-cutting the ends prevents blunt lines and encourages soft, piece-y definition.
Layer Cuts for Curly Hair
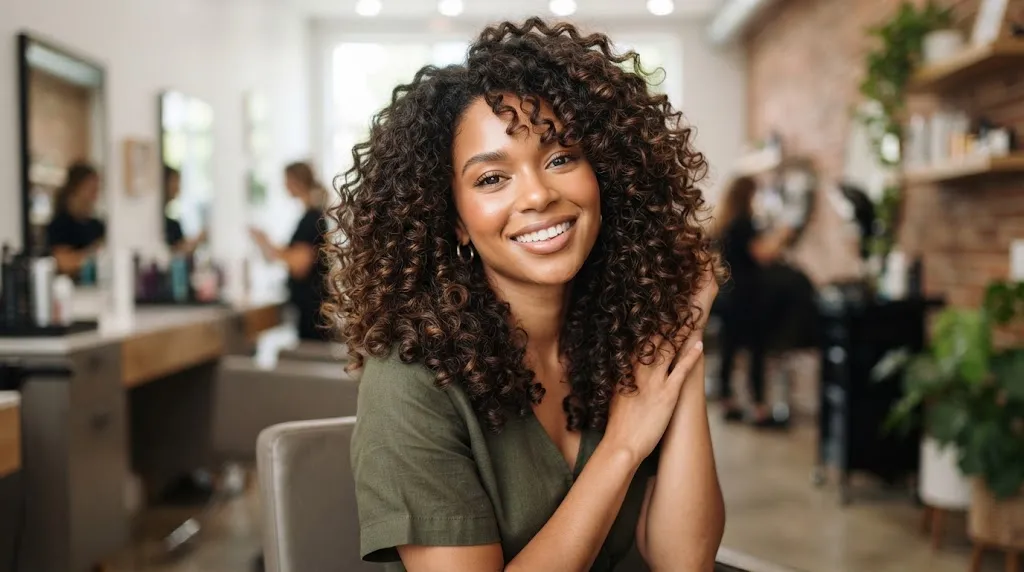
Curly and coily hair patterns expand outward, meaning layers must be sculpted with shape and shrinkage in mind rather than flat length. Cutting straight across a curly head creates heavy horizontal shelves, whereas customized, curl-by-curl or step-tiered layering distributes volume evenly around the head shape. Layered curly cuts rely on varying lengths so individual ringlets can nestle together without crowding the crown or widening the sides too drastically. Reference photos of layered curls demonstrate how tapering the ends lightens heavy densities and restores spring and bounce to tight spirals.
Layer Cut Pics by Face Shape
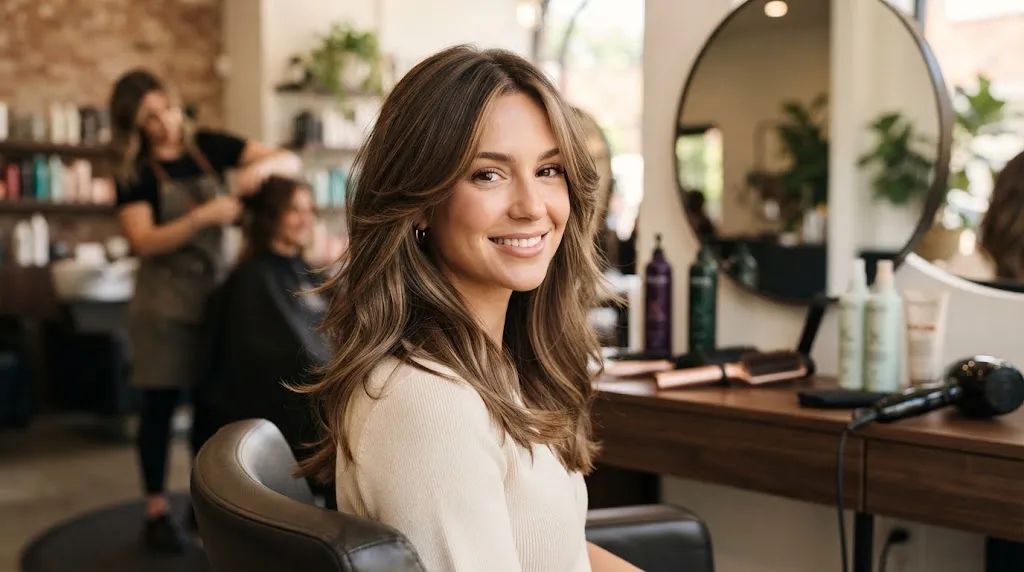
| Face Shape | Recommended Layer Style | Why |
|---|---|---|
| Round | Long, vertical layers starting below the chin | Draws the eye downward to elongate the face and minimize fullness at the cheeks. |
| Oval | Balanced layers starting at the cheekbones or collarbone | Preserves natural symmetry while adding lightweight movement without distorting proportions. |
| Square | Soft, wispy face-framing layers with textured ends | Breaks up strong jawlines and diffuses angular corners with softer lines. |
| Long | Mid-length layers with volume through the sides | Adds horizontal width to balance out vertical length and prevent a dragged-down appearance. |
| Heart | Chin-length or collarbone layers with fullness distributed around the jaw | Fills out the narrower lower jawline while balancing a broader forehead. |
The most common face-shape mistake is forcing a trendy, heavily layered cut that works on an oval face onto a round or square shape without adjusting where the shortest pieces begin. Cutting layers too high on a round face adds unwanted width right at the cheeks, while starting layers too low on a square face fails to soften a strong jawline.
Types of Layer Cuts Explained
Full Layers vs Half Layers
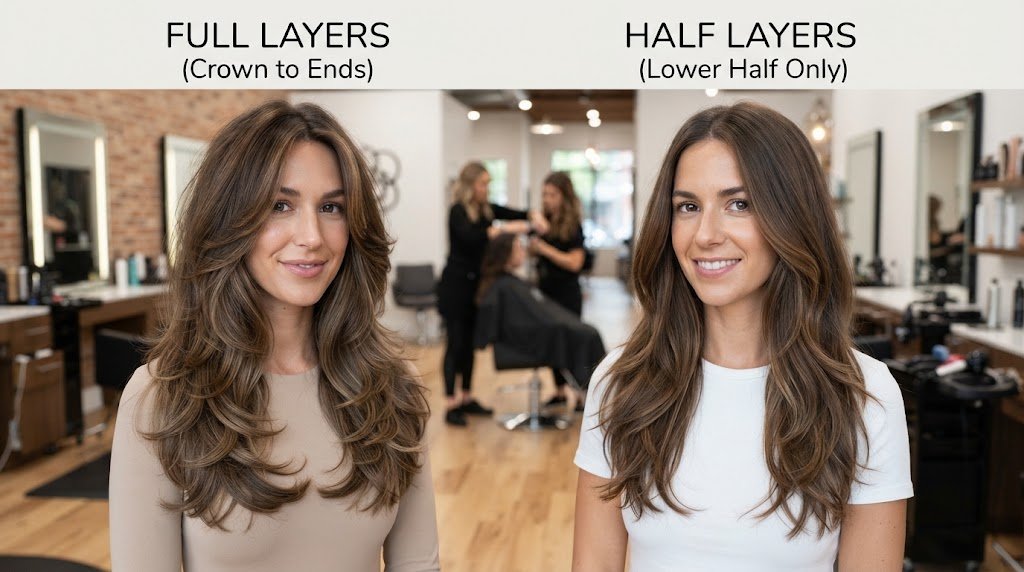
Full layers distribute graduation throughout the entire head from crown to ends to maximize movement and eliminate weight evenly. Half layers concentrate graduation strictly from the mid-lengths down, leaving the top section solid to preserve density and crown volume. Full layers suit fine to medium straight hair needing maximum lift, while half layers suit thick or coarse hair that puffs out if layered too high up.
[Placeholder Image: Side-by-side comparison of full layers distributed from crown to ends versus half layers concentrated only on the lower half]
Simple / Light Layer Cut
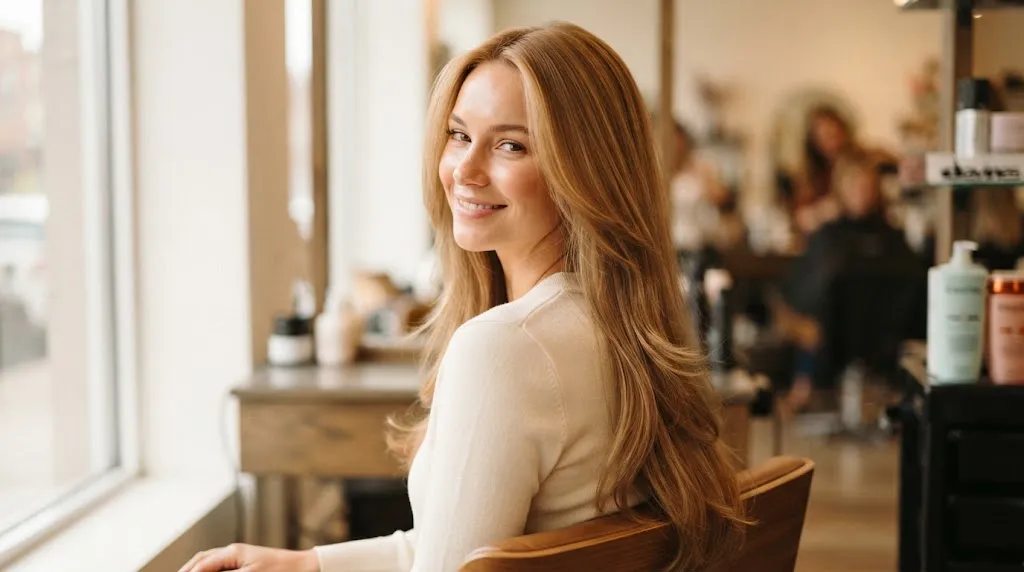
A light layer cut involves minimal, subtle graduation placed strictly around the perimeter or starting well below the shoulders to keep ends dense. This technique removes just enough weight to prevent hair from looking blocky without sacrificing thickness or creating noticeable steps. It suits fine or thin hair types looking for a clean, polished shape with natural bounce.
[Placeholder Image: Close-up of subtle, long graduation falling past the shoulders with dense, healthy ends]
Messy Layer Cut

A messy layer cut utilizes point-cutting and razor techniques at varying, irregular lengths to create a high-texture, undone finish. This style relies on broken-up ends and internal texture rather than precise geometric lines to look purposefully lived-in. It suits wavy and textured hair types that embrace natural air-dried volume and effortless movement.
[Placeholder Image: Shoulder-length textured cut with piece-y, tousled layers and an air-dried finish]
Multi-Layer Cut for Long Hair
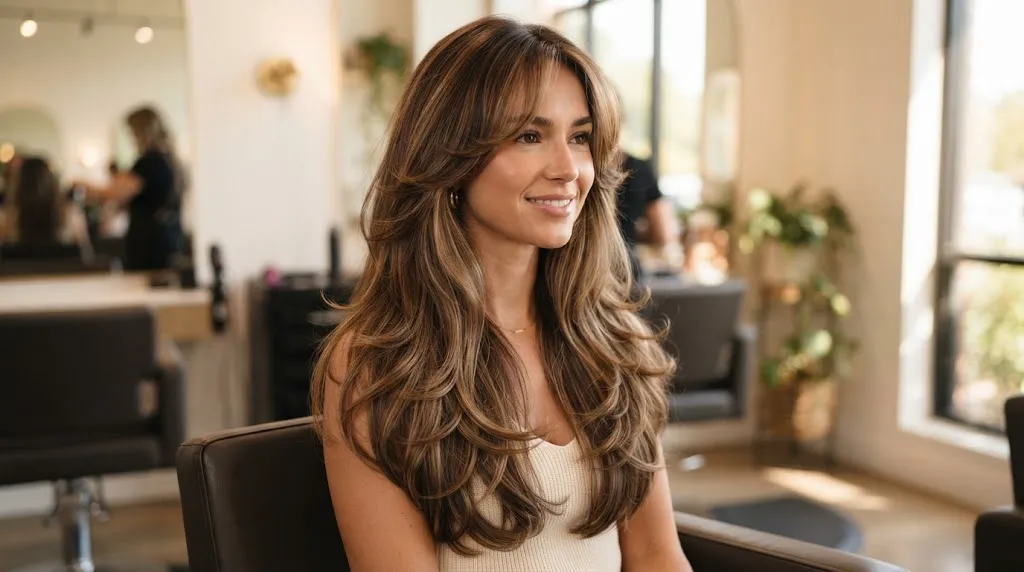
A multi-layer cut for long hair introduces multiple distinct tiers of graduation—typically short face-framing pieces, mid-back transition layers, and longer base lengths—to eliminate heavy bulk. This method maintains overall length while preventing long hair from dragging down the facial features. It suits very long, heavy, or dense hair that requires internal weight reduction to hold volume and style.
[Placeholder Image: Waist-length hair featuring distinct tiers of cascading layers and seamless face-framing pieces]
Layer Cut Pics for Girls, Women, Boys & Mature Women
Layer Cuts for Girls

Young hair typically has a fine, uniform texture that needs movement rather than heavy weight removal. Long, cascading layers starting below the collarbone keep the ends full while creating bounce and natural flow, making it easy to manage for daily wear. This approach works especially well when paired with soft, face-framing pieces that grow out evenly. For a deeper dive into styling options for younger age groups, explore our guide on haircuts for girls with long hair.
Layer Cuts for Ladies/Women
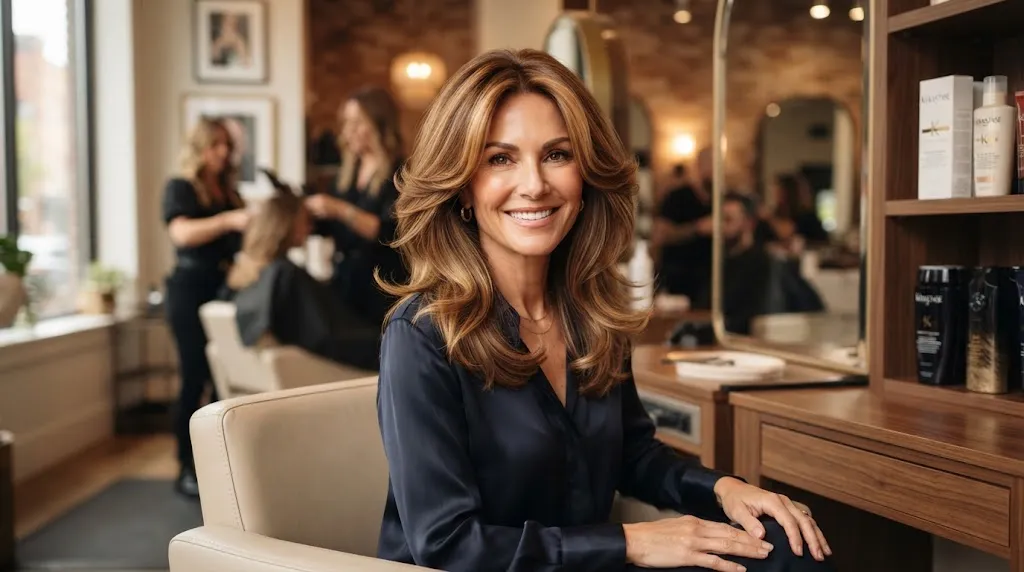
Adult layering relies on personalized placement to frame bone structure, distribute volume, and remove bulk where hair tends to swell. Long layers starting near the chin or collarbone add effortless movement to daily wear, while shorter internal stacking builds lift at the crown for fine textures. When dressing up these cuts for formal events, soft waves or polished blowouts define the shape; you can find specific styling inspiration for celebrations and formal gatherings in our party hairstyle woman guide. To explore more foundational cutting techniques and variations across all lengths, check out the main women’s hairstyles hub.
Layer Cuts for Boys
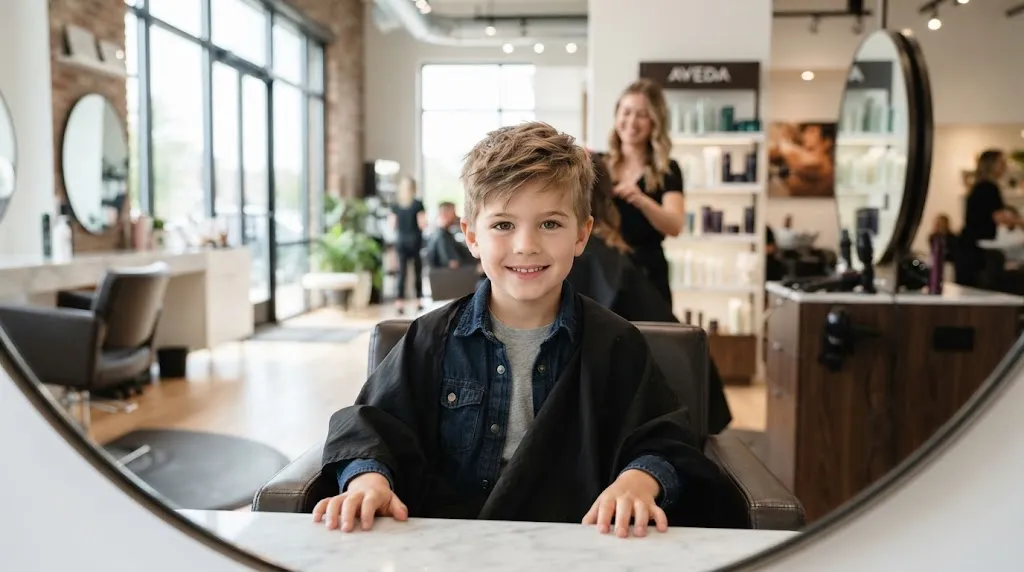
Short hair layering relies on precision clipper work and scissor-over-comb techniques to build texture and shape without leaving shelf-like weight lines. Texturizing the top sections allows hair to stand up or sweep forward easily, making it a versatile choice for modern styles. For a trendy, textured finish inspired by popular global trends, check out the styling approach in the Korean boy hairstyle guide. If you prefer clean, geometric lines combined with structured layers, the techniques outlined in the box cut hairstyle breakdown offer great inspiration. Discover more foundational inspiration and cuts across our complete boys’ hairstyle hub.
Layer Cuts for Mature Women 50s–70s
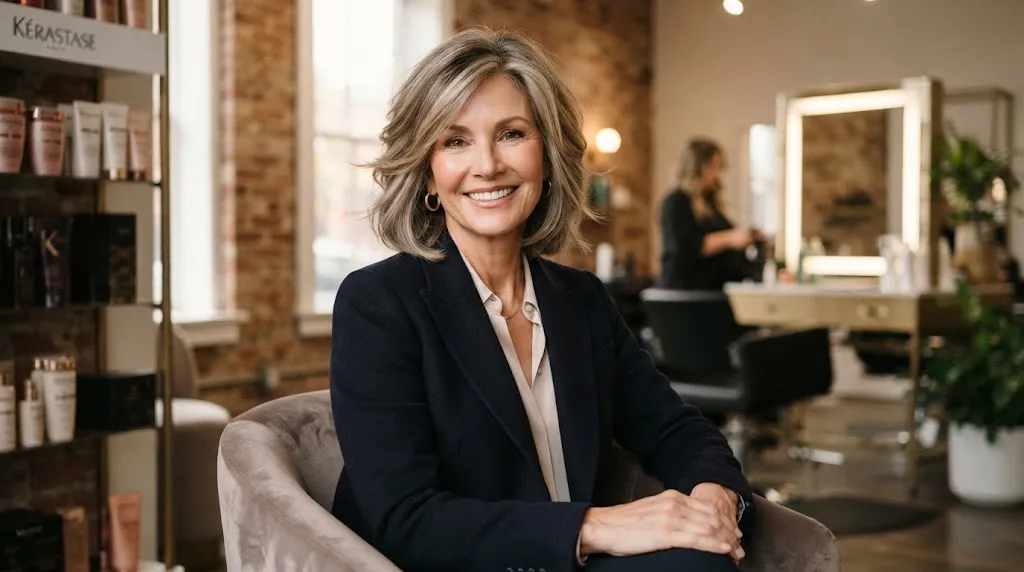
As hair texture fineens and density shifts with age, soft layering creates the illusion of fullness and keeps the style from looking flat against the scalp. Incorporating airy, shattered ends around the jawline lifts the face and softens angular features, avoiding harsh or severe lines. Cutting precise interior layers gives fine hair an instant volume boost without requiring heavy styling products. Maintaining these cuts requires regular trims every six to eight weeks to keep the delicate perimeter looking fresh and intentional.
Step-by-Step Layer Cut Photos
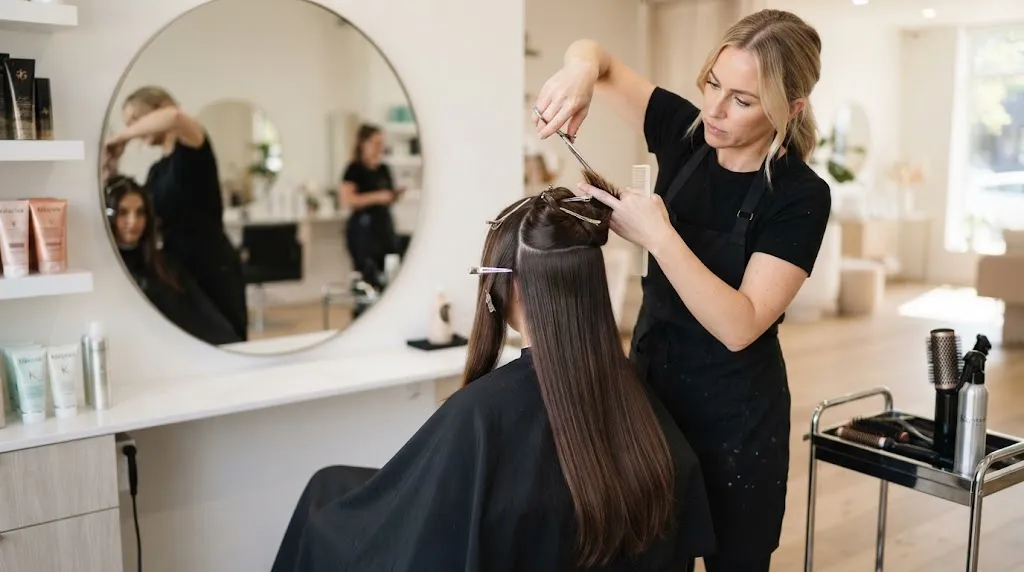
Process Overview
Before → During → After: The Cutting Process
Seeing the evolution from a solid, one-length shape to a dynamic, multi-dimensional cut helps visualize how elevation and over-direction change weight distribution.
Before
The starting point features heavy, blunt ends with all the hair sitting at a single baseline, which often weighs down natural texture and removes volume near the crown.
During
The transformation happens through precise sectioning and controlled elevation, typically pulling hair straight out at a 90-degree angle from the head shape to establish soft graduation and movement.
After
The finished blow-out reveals blended layers that frame the face, eliminate bulk, and create natural bounce throughout the lengths.
For a closer look at how these technical steps translate visually on camera, you can check out this step with layer cut photos guide for detailed visual breakdowns of each phase.
Technical Execution Steps
1
Initial Quadrant Sectioning
The initial clean sectioning divides the hair into four standard quadrants, isolating the crown and nape areas.
2
Establishing Elevation Guide
Cutting the guide at the desired elevation sets the shortest layer length, which dictates how high the movement starts.
3
Blending & Texturizing
Slide-cutting or point-cutting through the ends removes blunt lines, ensuring a seamless melt between each distinct layer tier.
4
Shear Angle Demonstration
A quick-cut demonstration of these exact partitioning angles can be seen in the video above, showing how a professional holds the shears to prevent harsh weight lines.
How to Ask Your Barber or Stylist for the Right Layer Cut

Communication in the chair dictates whether you walk out with movement or a jagged mistake. Stylists translate abstract requests into technical execution, meaning vague terms like “just a trim with some layers” leave room for misinterpretation. Clear terminology prevents the gap between expectation and execution.
Exact phrasing/script to use in the chair
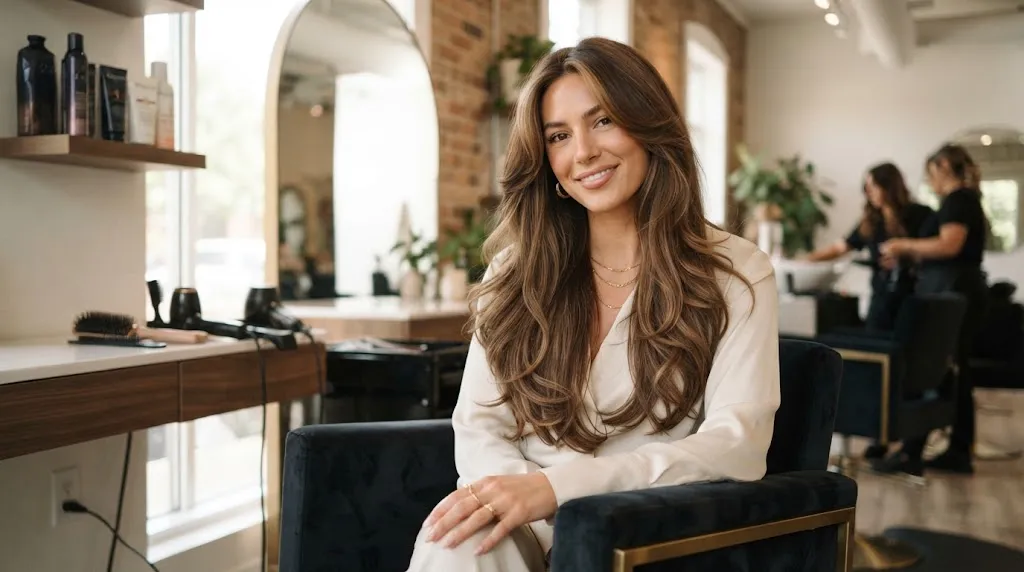
“I want to keep my overall length at [insert length], but I need long, seamless layers starting below my chin to remove weight and add movement without losing density at the ends. For the front, I want face-framing pieces that curve inward starting at my [jawline/cheekbones], point-cut for a soft edge rather than a blunt line.”
Terminology Dictionary
Hair Cutting Terms & What They Mean
| What to Say | What It Means |
|---|---|
| "Face-framing layers starting at the chin" | Concentrates cutting strictly around the front perimeter to highlight bone structure while leaving the back length untouched. |
| "All-over/stacked layers with seamless blending" | Distributes weight removal throughout the entire head, creating uniform volume and bounce from crown to ends. |
| "Point-cutting technique for the ends" | Instructs the stylist to cut vertically into the hair strands with shears rather than straight across, eliminating blunt lines for a softer grow-out. |
| "Internal weight removal / thinning bulk" | Focuses on slide-cutting or texturizing inside the hair shaft to debulk thick hair without altering the outer silhouette or length. |
| "Disconnected layers" | Creates intentional, distinct length separation between sections for a high-contrast, edgy texture instead of a gradual cascade. |
How to Style Layered Hair at Home
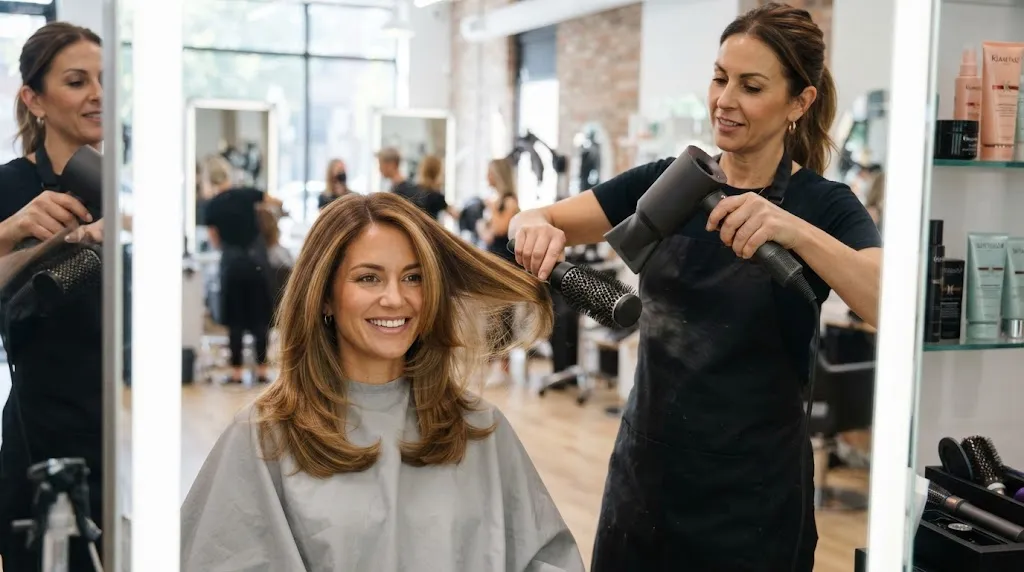
Getting a great layer cut is only half the battle; knowing how to style layered hair at home is what keeps those ends flipping right and prevents your haircut from looking heavy or shapeless. Layers require a bit of intention because different lengths react differently to heat, humidity, and natural drying patterns. Master a few targeted techniques, and you can recreate a salon-fresh bounce without spending an hour in front of the mirror.
Tools & Products You Actually Need

Medium round brush: A ceramic or boar-bristle round brush (around 1.5 to 2 inches wide) creates tension to smooth frizz and shape the ends of your layers inward or outward.
Ionic blow dryer with a nozzle attachment: The nozzle concentrates airflow downward along the hair shaft, which is non-negotiable for sealing the cuticle and preventing flyaways on layered cuts.
Sectioning clips: Large alligator clips keep your hair divided so you can style bottom layers first without upper sections getting in the way.
Heat protectant: A lightweight, alcohol-free thermal spray shields strands from high heat without weighing down fine or medium textures.
Flexible-hold working hairspray or texture spray: A buildable spray adds grit to shorter crown layers and holds shape without making the hair feel stiff or crunchy.
Step-by-Step Styling Method
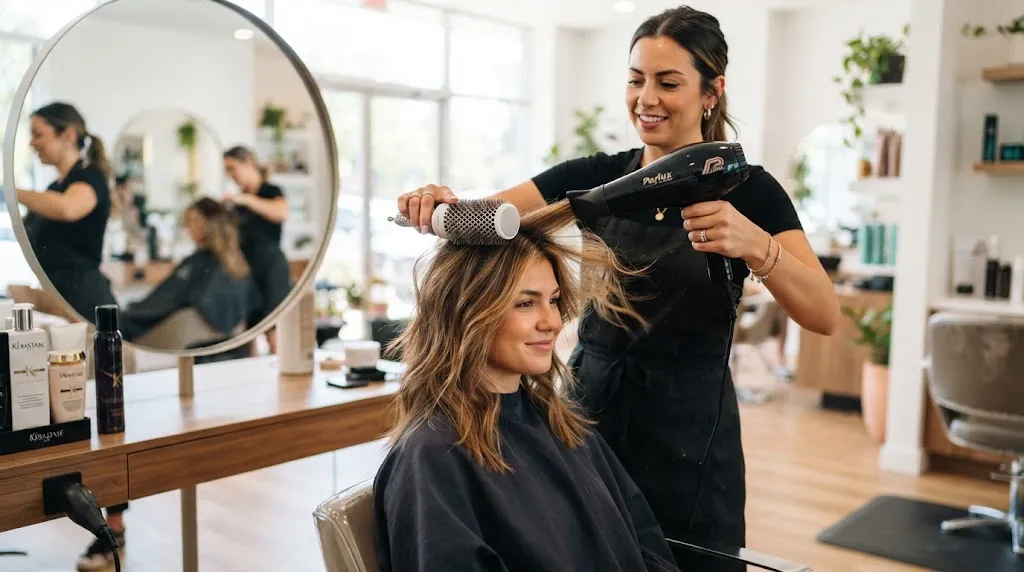
Apply a quarter-sized amount of heat protectant to damp hair, combing it through from roots to ends to ensure even distribution.
Rough-dry your hair using your fingers and the blow dryer on medium heat until it is about 80 percent dry, flipping your head upside down for a few minutes to build natural root lift.
Clip the top half of your hair up and out of the way, leaving the bottom section loose.
Take a 2-inch subsection, place your round brush beneath the roots, and follow the brush down with the dryer nozzle pointed downward. Roll the brush under slightly as you reach the ends to give the bottom layers a polished curve.
Release the top sections and repeat the blowout technique, directing the face-framing layers away from your face to open up your features. Watch this step-by-step video demonstration for a visual breakdown of how to angle your brush and dryer to get smooth, bouncy ends on shorter layers.
Finish with a light mist of flexible-hold texture spray through the mid-lengths to define the separation between your layers.
Quick Fixes for Common Styling Problems
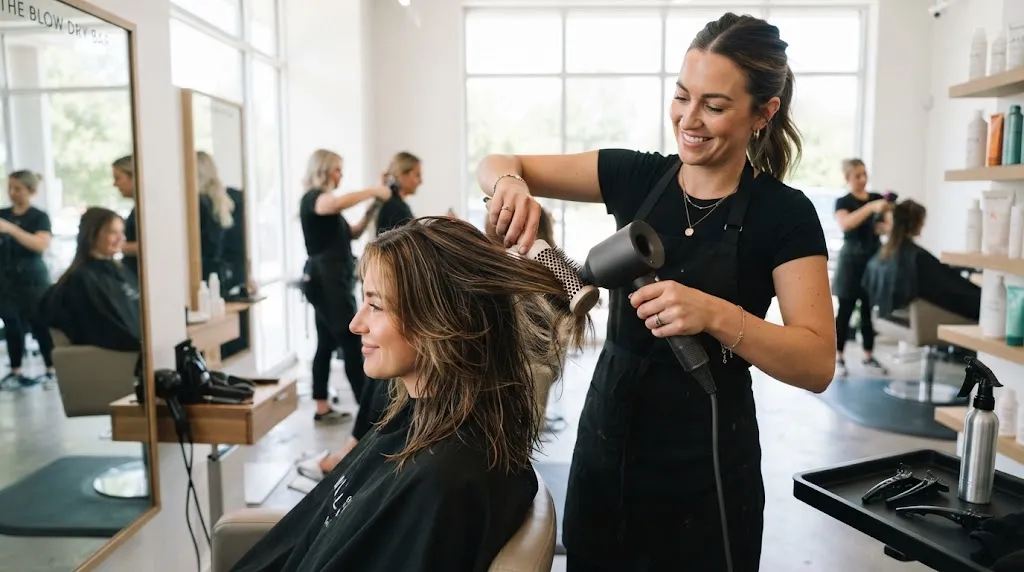
Flat roots: Flip your head upside down and blast the crown with cool air from your blow dryer for 30 seconds, then mist a dry texturizing powder directly into the roots and massage it in with your fingertips.
Frizzy or flipped-out ends: Run a flat iron over just the very tips of the layers, gently curving the iron inward or outward depending on the desired direction of your cut, followed by a tiny drop of lightweight smoothing oil warmed between your palms.
Uneven layers looking choppy: Mist the hair with a dampening spray, apply a curl-defining cream or smoothing lotion, and use your round brush to smooth the sections tightly while blow-drying, which forces mismatched lengths to blend together seamlessly.
What Competitors Missed — Real User Problems
The Awkward Grow-Out Phase With Heavy Layers
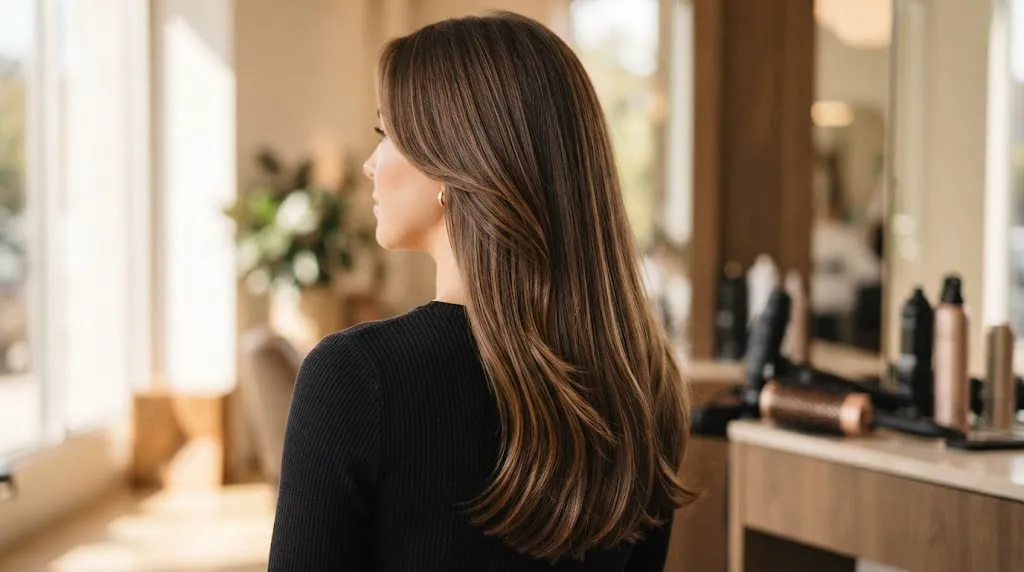
Heavy layers grow out unevenly because the shortest pieces near the crown grow at the same rate as everything else, but they started shorter — so the gap between your shortest and longest layer keeps widening for months. Around the 8–10 week mark, this shows up as flyaway pieces sticking up at the crown while the rest of your hair lies flat. A quick fix in this window is a light “dusting” trim — not a full re-layer, just trimming the very tips of the shortest layers so they blend instead of poking out. If you’re not ready for a salon visit, brushing those short pieces back and pinning them under the top layer with a few bobby pins keeps them out of sight until your next appointment.
Layers Making Hair Look Thinner Than It Is
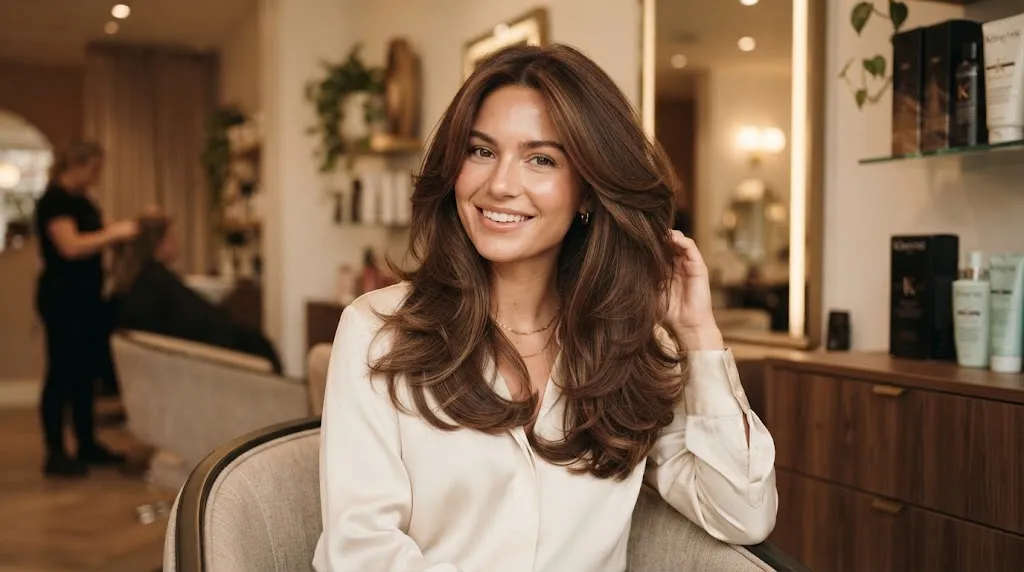
This happens when layers are cut too short, too close together, or start too high up near the roots — it removes weight from the mid-lengths and ends, which is exactly where hair needs bulk to look full. If your hair already has fine or thin strands, heavy layering can expose more scalp-to-tip separation, making the overall head of hair read as sparse even though no hair was actually lost. The fix going forward: ask for layers that start below the chin rather than near the crown, and request “internal layers” — layers cut inside the hair rather than at the visible perimeter — so the outer silhouette stays full while movement is added underneath.
Fixing Uneven or Botched Layers
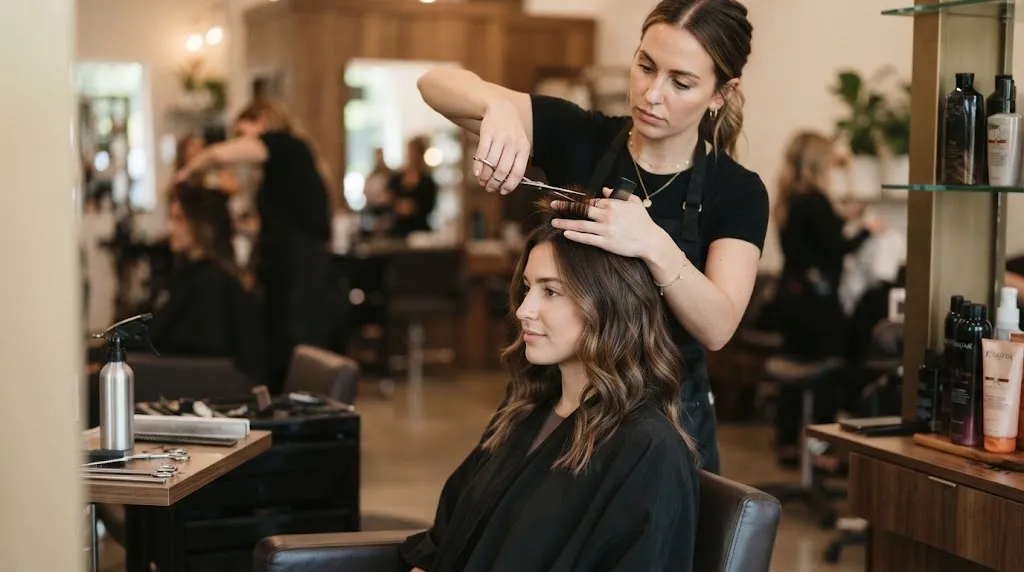
Uneven layers are usually the result of cutting dry hair that later shrinks unevenly when curled or air-dried, or sectioning that wasn’t symmetrical to begin with. The first thing to check is whether your hair is actually uneven or just styled differently on each side that day — many “uneven layer” complaints are really just styling inconsistency. If the unevenness is confirmed in the cut itself, a corrective trim needs to happen wet, section by section, comparing both sides at the same length before cutting — this is not something to fix with at-home scissors, since removing more length to “even it out” often makes a short layer shorter still.
Layer Cut Regret — What to Do
Layer Cut vs Other Haircuts
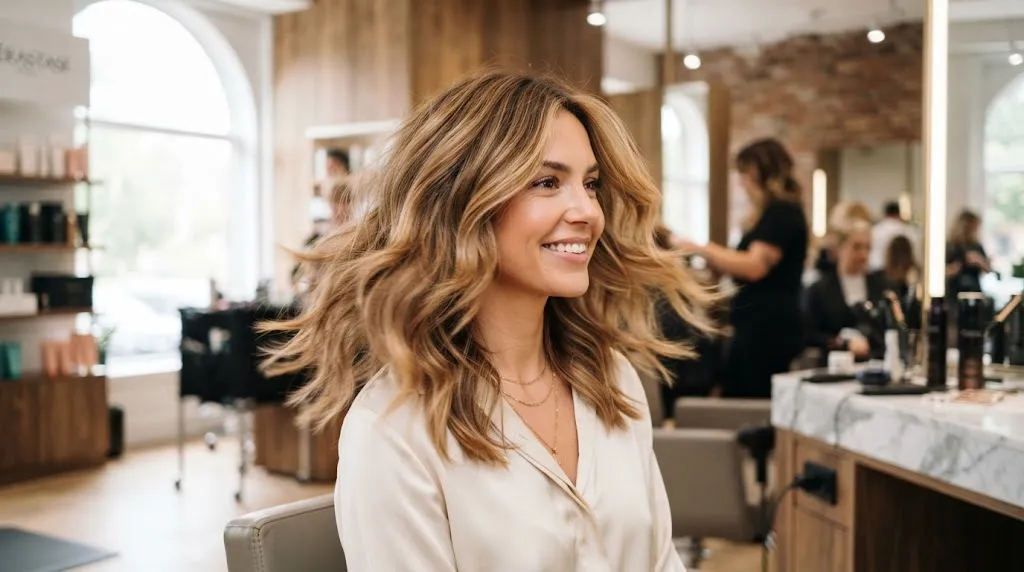
Style Matrix
Haircut Maintenance & Volume Guide
| Haircut | Maintenance | Best Hair Type | Volume Effect | Grow-Out Difficulty |
|---|---|---|---|---|
| Layer Cut | Medium (trims every 6 to 8 weeks to keep ends sharp) | Medium to thick, wavy, and curly textures | Adds dynamic movement and reduces heavy bulk | Low (blends naturally as lengths increase) |
| Blunt / One-Length | Low to medium (regular blunt dustings to prevent split ends) | Fine or straight hair wanting the illusion of density | Creates a heavy, dense perimeter with minimal natural lift | Medium (can look blunt-heavy past the shoulders) |
| Shag | High (frequent texturizing and reshaping every 4 to 6 weeks) | Naturally wavy or heavily textured hair | Maximizes crown volume and choppy texture | High (requires strategic reshaping as internal layers drop) |
| Bob | Medium (precision perimeter clean-ups every 4 to 6 weeks) | Straight or fine hair for a clean, sharp finish | Varies from sleek flat volume to rounded fullness depending on graduation | Medium (can transition into an awkward lob if neglected) |
Common Questions
Haircut & Layering FAQs
What is the most popular layered haircut?
The long layered cut with face-framing pieces remains the most requested style because it removes heavy weight while preserving overall length and versatility. It suits almost every face shape and hair texture with minor adjustments to the starting point of the layers.
What is the most flattering haircut for an older woman?
A textured bob or a soft shoulder-length cut with subtle, movement-building layers flatters older women best by adding natural volume and lifting facial features. The ideal cut avoids harsh, blunt lines that can weigh down thinning hair and instead focuses on soft, feathered ends.
Which type of layer cut is best?
Long, cascading layers work best for thick hair to remove bulk, while short, internal stacking layers work best for fine hair to build volume. The right choice always depends on your specific density, curl pattern, and daily styling routine.
What does a layered haircut look like?
A layered haircut features varying hair lengths throughout the style, with shorter sections sitting on top or around the face and longer sections falling at the bottom. This graduated structure creates visual depth, movement, and a lighter, more dynamic silhouette compared to a blunt, one-length cut.
What haircut makes you look 10 years younger?
Soft lobs (long bobs) with wispy face-framing layers or shoulder-length cuts with airy texture create a youthful look by instantly lifting facial features. Moving away from severe, heavy cuts and incorporating soft movement around the cheekbones and jawline softens the overall appearance.
Does thin hair look better one-length or layered?
Thin hair generally looks better with a blunt, one-length cut or minimal, strategic long layers to prevent the ends from looking sparse and wispy. Excessive or heavy short layers can strip fine hair of its density and make it look stringy.
What is the best hair length for a 65-year-old woman?
A collarbone-length cut or a classic chin-length bob provides the most flattering balance of manageability and fullness for women around 65. These lengths offer enough versatility to wear up or down while maintaining thick, healthy-looking ends.
What's the best haircut for a 60-year-old?
A textured shoulder-length cut with soft bangs or layered movement around the face provides a fresh, modern aesthetic for 60-year-olds. This style provides effortless volume and can be easily customized to highlight strong jawlines or cheekbones.
What is the most flattering hair length for over 70?
A cropped pixie cut or a soft, chin-length bob works exceptionally well for women over 70 by providing instant lift and requiring minimal daily styling. Shorter lengths reduce the maintenance load while keeping the hair looking thick, buoyant, and polished.
How to cut an older woman's hair?
Cutting mature hair requires working with its changing texture—often finer or more fragile—by using razor-cutting or point-cutting techniques to remove weight without creating harsh lines. Always establish the baseline length first before cutting internal layers to ensure the hair maintains adequate fullness and body.
Which Layer Cut Should You Choose?
Choosing the right layer cut ultimately comes down to balancing your hair’s natural density with your face shape, whether you opt for the movement of a long layered cut or the structure of a shag haircut. Fine hair benefits most from subtle, strategic layering that maintains perimeter weight, while thick or coarse textures require deep point-cutting to remove bulk and enhance natural wave patterns. Reviewing your daily styling commitment—from air-drying loose texture to regular round-brush smoothing—will ensure your final choice matches both your aesthetic goals and your maintenance routine.
Explore More Hairstyles
If you’re browsing for more than just layer cuts, our full hairstyle collection covers looks for every length, texture, and occasion. For more everyday styling ideas built specifically around smooth textures, our guide to hairstyles for straight hair is worth a look, and if medium length is more your speed, we’ve got dedicated breakdowns of medium-length haircuts for women and medium haircuts for girls.
Want to keep the length but still refresh your look? Our roundup of haircuts for girls with long hair pairs well with everything covered here, and if you’re planning for a special occasion, our party-ready hairstyle ideas are a good next stop. For a broader gallery of styling inspiration across looks, see our full hairstyle picture collection.
If you’re styling for a boy rather than a girl, our full boys’ hairstyles hub has you covered, including the ever-popular Korean boy hairstyle and the classic box cut hairstyle. And if you’re more curious about the cutting process itself than the finished look, our hair cutting style photo guide breaks it down step by step.
- Cosmetology-License.com, “Advanced Training in Hair Layering Techniques for Cosmetologists” — technical backing for layering angles, tools, and where layering does/doesn’t work well on the head
- SalonExam.com, “Hair Cutting Techniques: Blunt, Graduation, Layering” — technical backing for elevation angles (0°/45°/90°/above 90°) and sectioning/guideline terminology used in the cutting-process section
- FreeSalonEducation.com, “The Secret to Perfect Long Layers: Balancing Movement, Weight, and Shape” — technical backing for how interior layering and sectioning affect thick vs. fine hair