
How to Set Hair: The Complete Step-by-Step Guide Men & Women
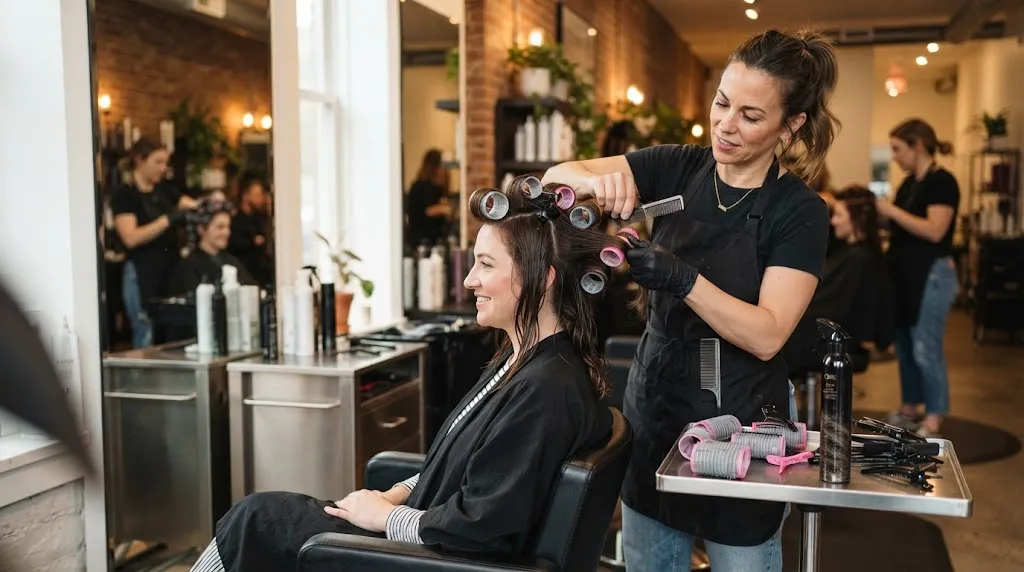
Setting hair is the process of shaping damp or heat-styled hair into a specific structure and letting it cool or dry completely so it holds its shape all day. Whether you use heat tools, rollers, or product alone, proper setting seals the hair cuticle to lock in volume, texture, and direction.
This step-by-step guide covers practical hair-setting techniques for men, women, and complete beginners across all hair lengths and textures. To explore specific cuts that pair best with these setting techniques, explore our main hairstyles & haircuts directory for comprehensive guides tailored to your hair type.
What Does "Setting Hair" Mean?
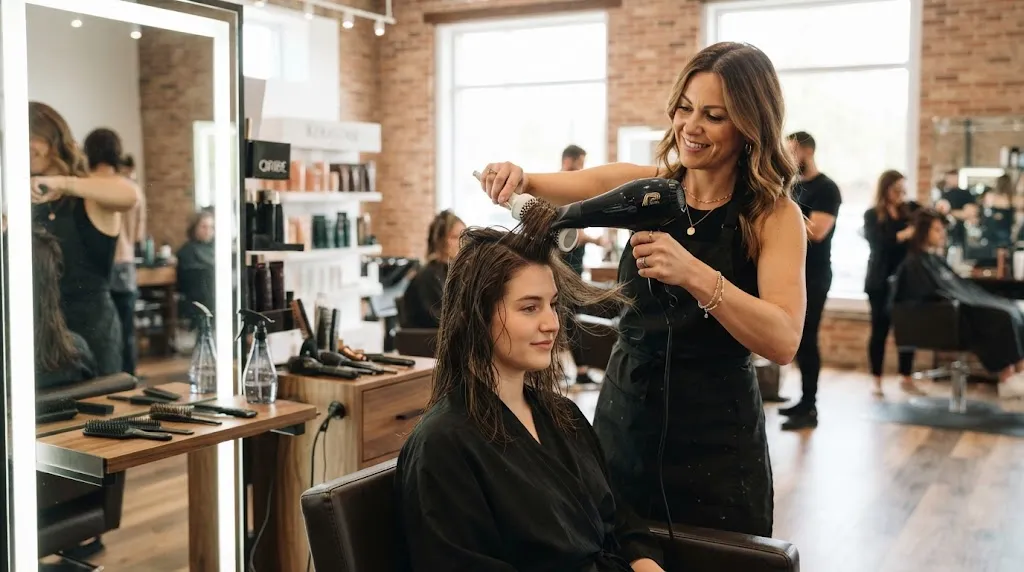
Setting hair means using heat, moisture, or physical tension to temporarily change the hair’s hydrogen bonds, locking it into a specific shape until it gets wet again or absorbs moisture from the air. When you alter those bonds while the hair is damp or warm, and then allow the hair to fully dry or cool down in that new position, the style “sets.”
While people often use the terms interchangeably, setting hair and styling hair are two distinct stages of the process:
Hair Styling is the active phase. It involves applying products, sectioning, manipulating the hair with brushes, rollers, or hot tools, and shaping it into your desired look.
Hair Setting is the solidification phase. It is the crucial cooling or drying step that locks that shape into place so your hairstyle lasts all day instead of falling flat within hours.
What You'll Need Before You Start
Getting a set that lasts all day without turning stiff or frizzy comes down to having the right setup before you apply any heat or moisture. Skimping on the basic gear usually means your hair drops its shape within an hour.
Tools You'll Need
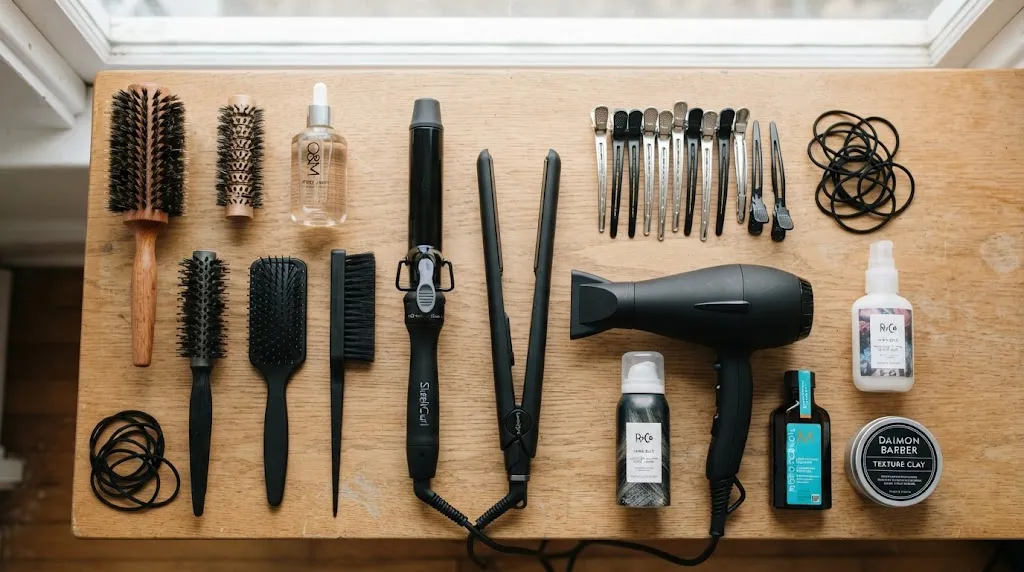
Rollers or Curlers: Velcro rollers work best for adding volume and body to dry or damp hair; flexi-rods or foam rollers give tighter, bouncy curls without direct heat damage.
Curling Iron: Choose a 1-inch barrel for versatile, classic curls or a 1.25-inch barrel for loose, effortless waves.
Flat Iron: A ceramic or titanium straightener with rounded edges allows you to both smooth out texture and create sleek, curved ends.
Blow Dryer with Diffuser: The blow dryer removes excess moisture, while the diffuser attachment spreads airflow evenly to set natural waves and curls without blowing them out into frizz.
Sectioning Clips: Crocodile or duckbill clips keep unworked hair out of your way so you can style in clean, manageable layers.
Comb: A wide-tooth comb detangles wet strands without breakage, while a fine-tooth or tail comb creates precise parts and smoothes down flyaways.
Products You'll Need (and Why)
Heat Protectant (Required)
Never skip a heat protectant. High-heat tools break down the hydrogen and keratin bonds inside the hair shaft. A quality protectant coats the hair cuticle with a lightweight thermal barrier, slowing down heat transfer, sealing in natural moisture, and preventing split ends or heat-induced color fading.
| Product Type | Hair Type | Hold Strength |
|---|---|---|
| Mousse | Fine, limp, or straight hair | Medium hold with added volume |
| Hair Clay or Paste | Short hair, crew cuts, or textured men's styles | High hold with a matte, natural finish |
| Pomade | Classic slick backs, side parts, or medium-length hair | Flexible to high hold with high shine |
| Setting Spray or Hairspray | All hair types needing long-lasting structure | Firm to extreme hold for all-day locking |
How to Set Hair — Step-by-Step
Setting your hair creates a long-lasting shape by breaking down the hair’s temporary hydrogen bonds with heat or moisture, then re-forming them as the hair cools or dries. Follow these universal steps to lock in volume and hold for any hair type.
Step 1 — Prep Your Hair
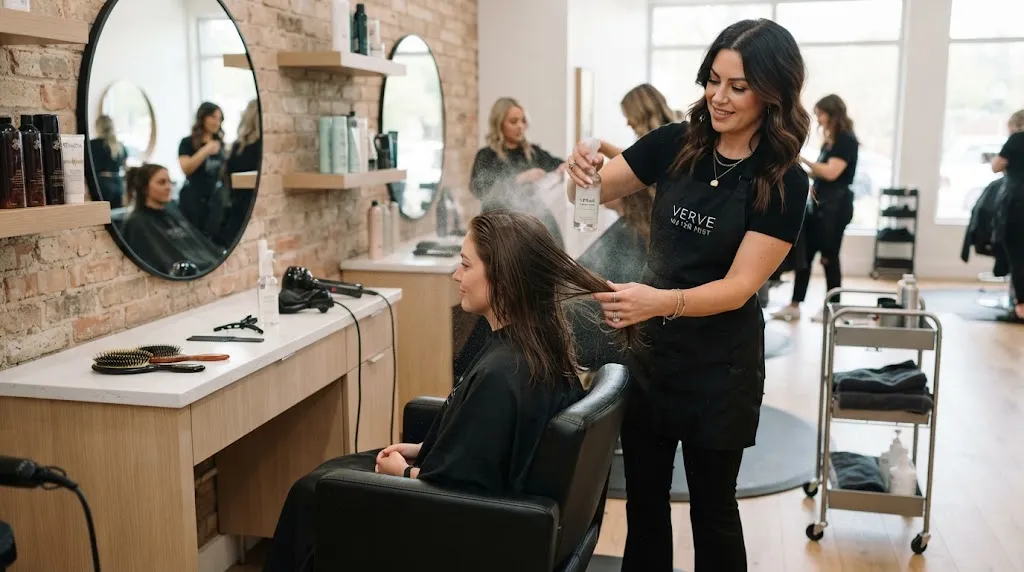
Start with clean, damp hair. Excess oils and heavy product residue weigh down the hair shaft, making it nearly impossible for a set to hold.
Apply a heat protectant: Spray evenly from mid-lengths to ends. Heat protectants create a barrier that prevents moisture loss and structural damage up to 450°F (232°C).
Work in a styling agent: Distribute a lightweight mousse or setting lotion through damp strands. Mousse contains polymers that coat each strand, providing the grit and grip needed for hydrogen bonds to lock into place.
Rough dry: Blow-dry until your hair is roughly 80% to 90% dry. Setting soaking-wet hair with heated tools causes steam damage and dramatically increases styling time.
Step 2 — Section Your Hair
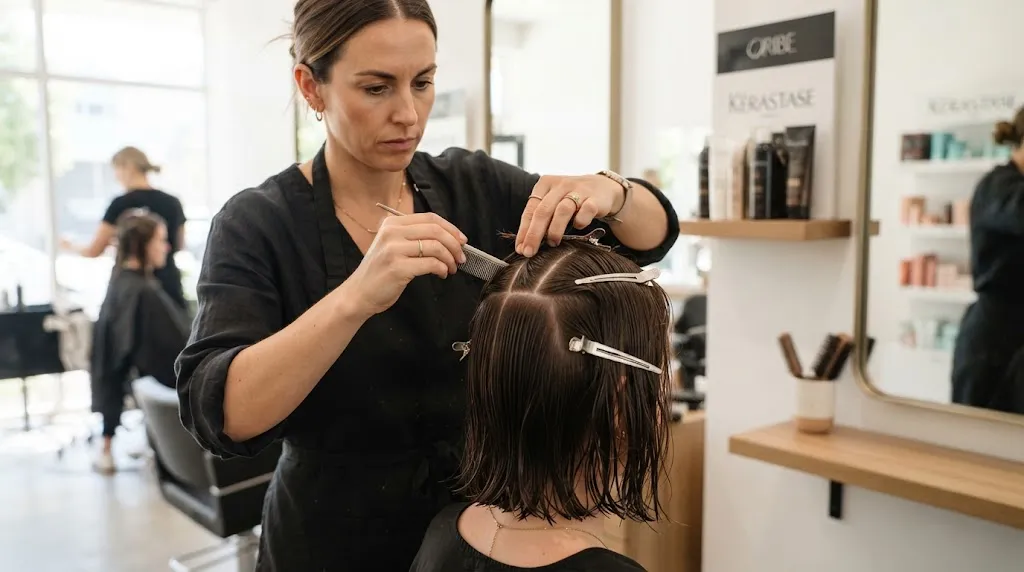
Sectioning ensures uniform heat distribution and prevents previously styled hair from falling out of shape while you work.
Divide into four main quadrants: Run a tail comb from the center of your forehead to the nape of your neck, then from ear to ear.
Secure with duckbill clips: Keep three sections clipped back tightly while working on the first.
Subdivide into workable working sub-sections: Pull individual subsections no wider than the width of your roller or iron barrel. If a section is too thick, heat cannot penetrate to the core, leading to an uneven set that collapses within hours.
Step 3 — Apply Heat or Rollers

Whether using hot rollers, Velcro rollers, or a curling wand, consistent tension and heat application determine the strength of your set.
Wrap with medium tension: Hold the section taut, smooth the ends over the roller or iron barrel, and roll toward the scalp. Taut wrapping aligns the cuticle layer for maximum shine.
Apply heat consistently: Hold a heating tool on the section for 10–15 seconds, or blow-dry over a roller setup on medium-high heat.
Pin securely: Anchor rollers flat against the scalp using single-prong or double-prong clips.
Step 4 — Let It Cool Completely
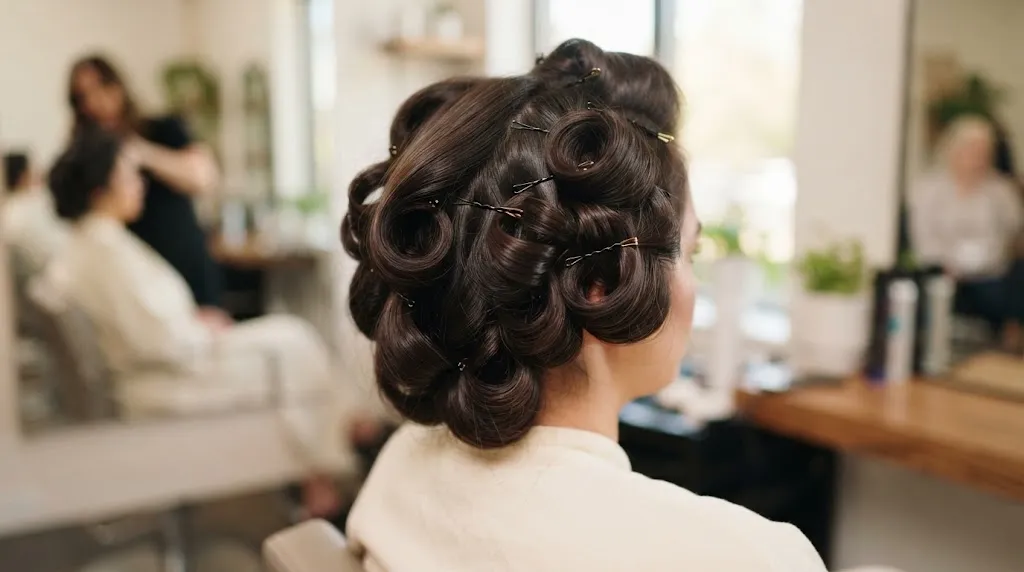
Allowing your hair to cool completely while still pinned or rolled is the single most critical step in hair setting.
When hair is warm or damp, its hydrogen bonds remain soft and flexible. If you drop a curl while it is still warm, gravity pulls the hot bonds down, stretching them into a flat shape before they can solidify. Waiting 10–20 minutes until the hair is cool to the touch ensures the hydrogen bonds set firmly in their new curved structure, giving you all-day bounce and hold.
Step 5 — Release and Finish
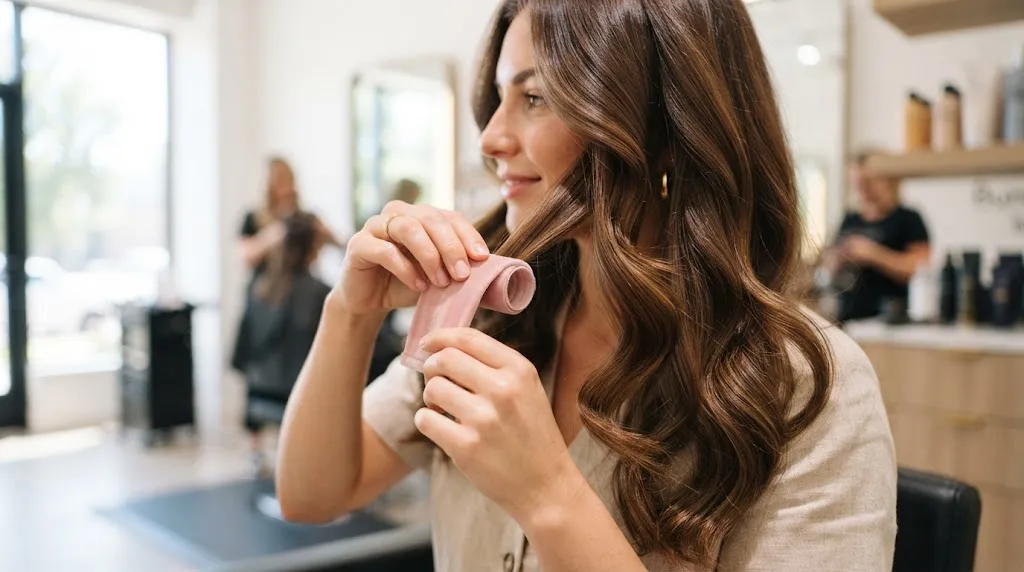
Once the hair is entirely cool, carefully unwind each section without pulling or jerking.
Remove clips and rollers: Unroll each section gently from the bottom up, letting the formed curl bounce into place naturally.
Break up the set: Gently rake through the curls using your fingers or a wide-tooth comb. Avoid using a fine-tooth brush, which destroys the set structure and creates frizz.
Lock in the style: Mist a flexible-hold hairspray 10–12 inches away from your head. This provides a light, humidity-resistant barrier without making the hair stiff or crunchy.
How to Set Hair for Men
Learning how to set hair men can style easily starts with matching your technique to the specific haircut you have. Different styles require different airflow angles, tension, and product types to hold their shape throughout the day.
Pompadour Set
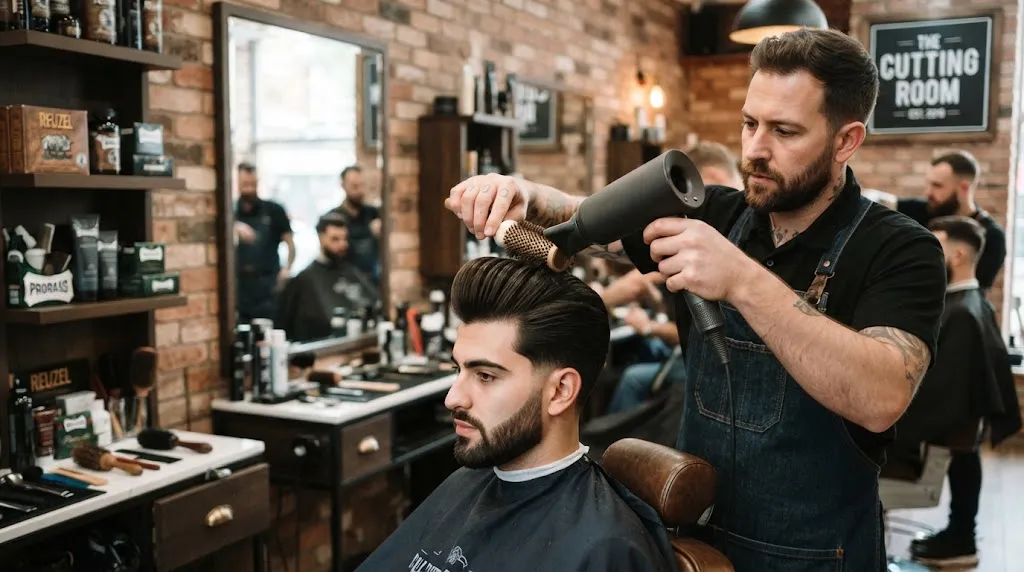
Apply a light pre-styler to damp hair, then blow-dry on medium heat using a round brush to pull the front roots upward and backward for height. Once the volume is locked in with a cool shot, comb a nickel-sized dab of high-hold pomade through the hair to secure the slick, elevated shape.
Quiff Set
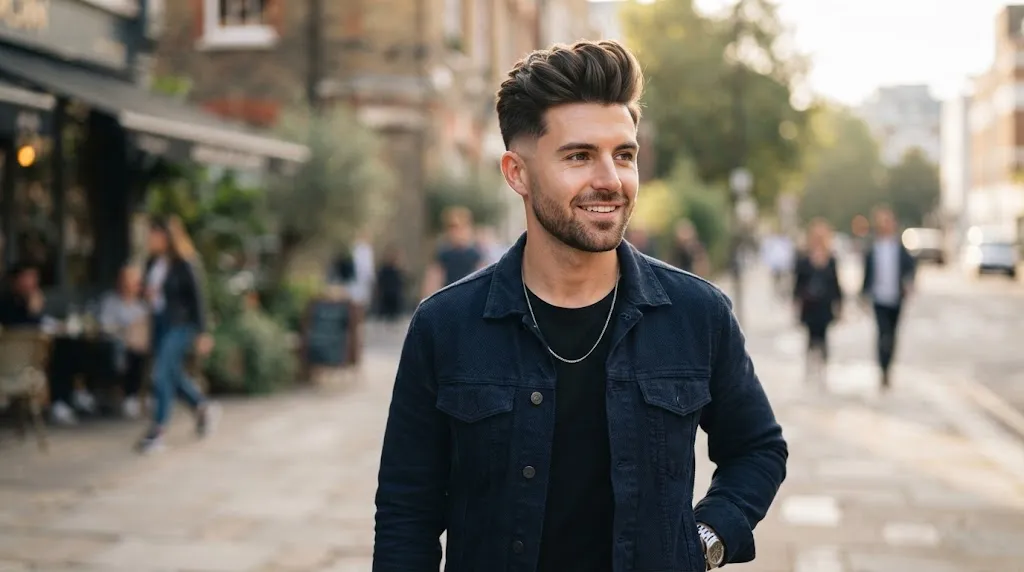
Work sea salt spray into damp hair, then direct the airflow upward at a 45-degree angle while lifting the front fringe with your fingers. Finish by working a matte clay through the ends for structured, touchable height that does not collapse under its own weight.
Textured Crop Set
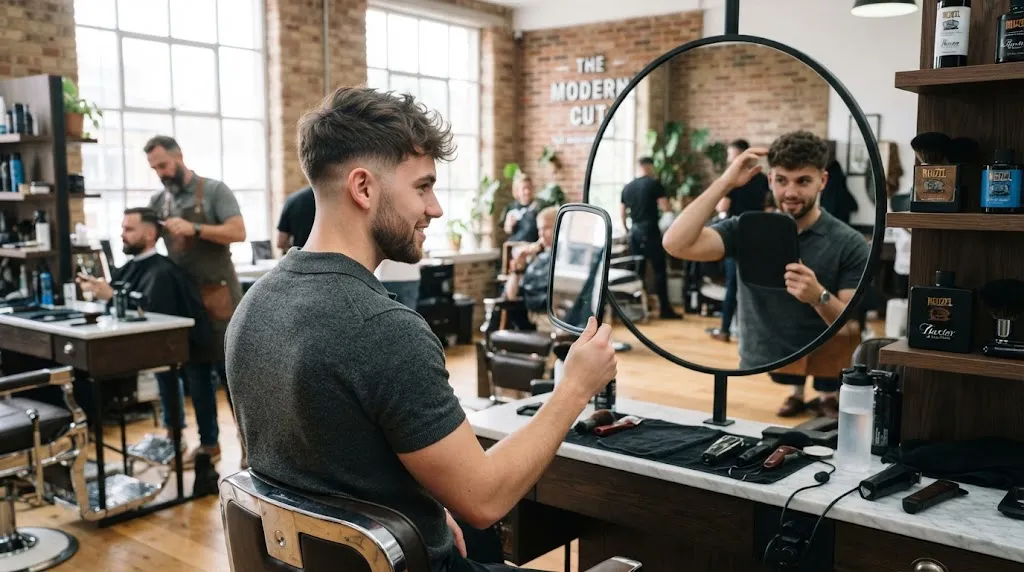
Towel-dry hair until slightly damp, blow-dry low and slow forward toward your forehead, and pinch small sections using styling powder or matte paste. This forward-sweeping technique creates distinct separation and piecey texture across the top without flattening the fringe.
Male Hair Styling Tips for All-Day Hold
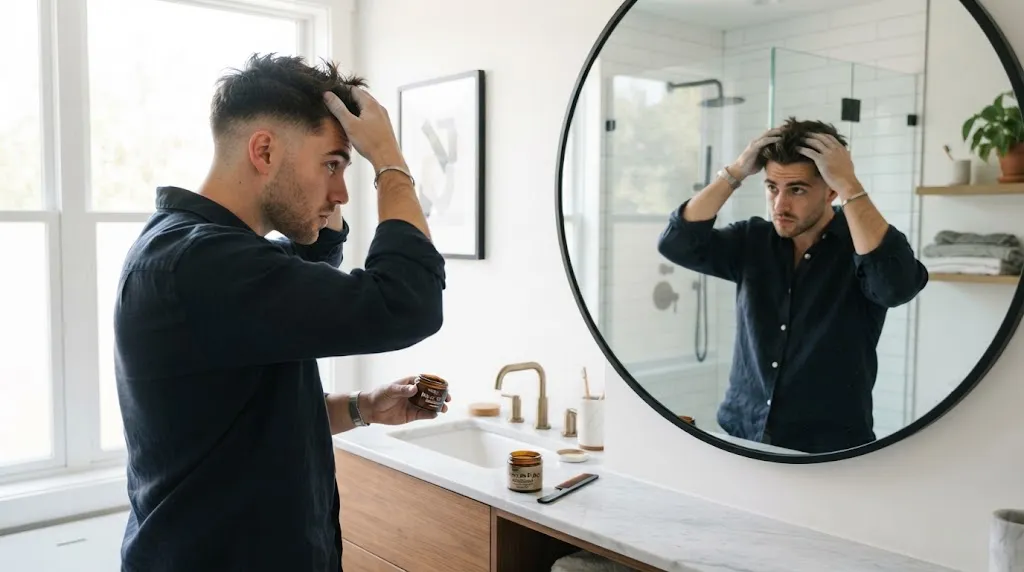
Getting your hair to stay in place all day comes down to effective product placement and controlling hydrogen bonds with heat. Following these practical male hair styling tips prevents your style from deflating by lunchtime:
Pre-style on damp hair: Never apply finishing wax or pomade to bone-dry hair first. Apply a liquid pre-styler like sea salt spray or tonic to damp hair so the blow-dryer sets the base shape into the hair shaft.
Use the cool shot button: Heat makes hair pliable, but cold air locks it into position. Hold your dryer’s cool shot button over your finished shape for 10-15 seconds to freeze the style before touching it.
Layer products lightweight to heavy: Start with lightweight sprays at the roots for volume, then apply heavier clays or pomades only to the mid-lengths and ends. Heavy products applied directly to the scalp will weigh down roots and cause sagging.
Emulsify products thoroughly: Rub paste or wax between your palms until it warms up and disappears completely before touching your hair. This prevents clumping and guarantees even distribution across every strand.
How to Set Hair for Women
Learning how to style your hair woman options require different tools, but the underlying science remains constant: heat or tension breaks the hair’s temporary hydrogen bonds, and cooling sets them into their new shape. Picking the right set depends on your desired curl pattern and hair density.
Roller Set
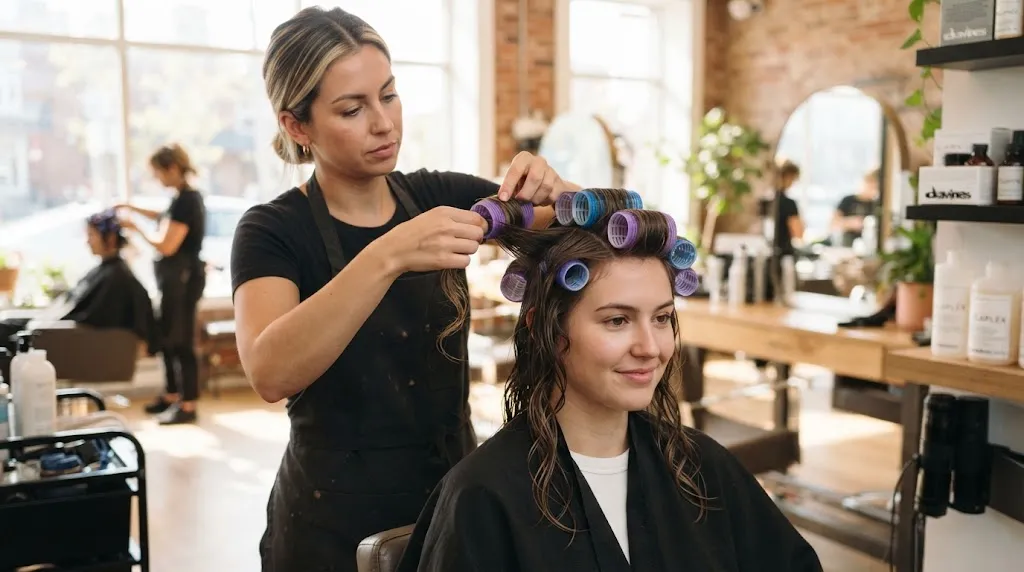
Roller sets rely on tension and complete cooling to create long-lasting volume and smooth finish without direct, high heat. Roll sections forward at a 90-degree angle from the scalp to maximize root lift, securing each roller flat against the head until the hair is completely cool to the touch.
Small Rollers (0.5 – 0.75 inch): Ideal for tight ringlets, spiral curls, or short hair needing max structural support.
Medium Rollers (1.0 – 1.5 inches): The sweet spot for classic bouncy curls and medium-length style sets.
Jumbo Rollers (1.75 – 2.0+ inches): Perfect for smooth blowout volume, soft loose waves, and straightening natural texture.
Curling Iron Set
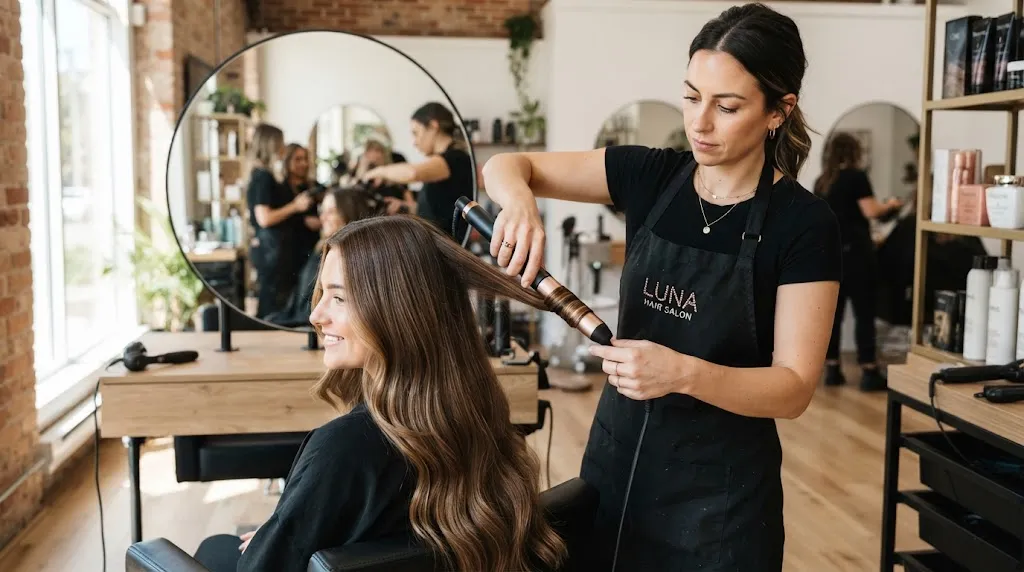
Hot tools allow precise control over wave direction and tightness. Match your barrel size directly to your goal shape, and always alternate curl directions—away from the face on front sections to open up features, then alternating back and forth through the back so curls do not nest together into one solid block.
0.75-inch Barrel: Tight, defined corkscrew curls that last exceptionally well on fine or hard-to-hold hair.
1-inch Barrel: The industry standard for versatile, medium-sized polished curls and lived-in texture.
1.25 to 1.5-inch Barrel: Large S-waves and glamorous Hollywood blowout movement on longer lengths.
Beach Wave Set
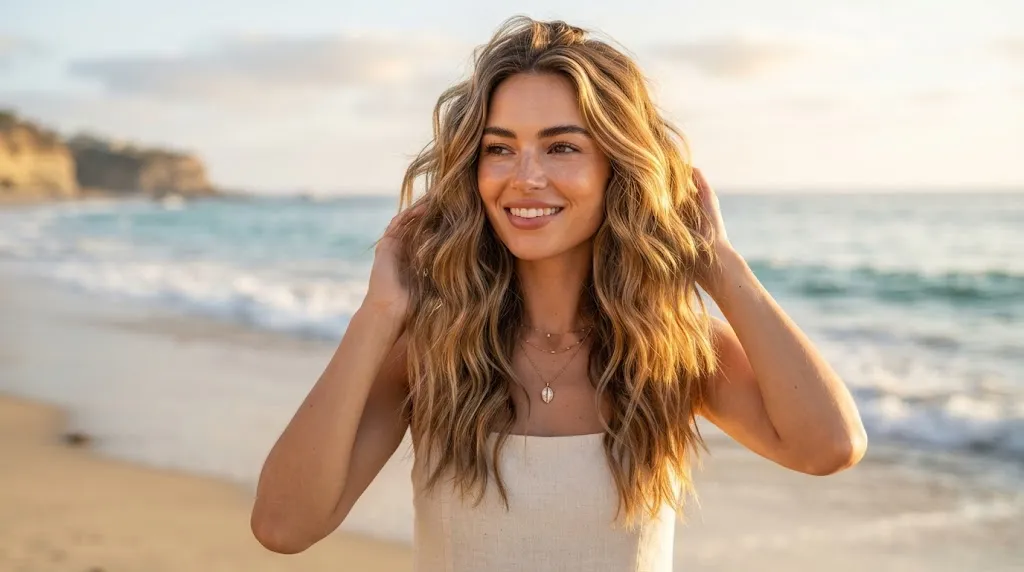
Achieving authentic beach waves requires leaving the last inch of your ends completely straight to avoid a overly formal ringlet look. Clamp your iron at mid-shaft, rotate 180 degrees away from your face, and glide down rapidly while gently pulling the end taut. Once the hair cools, mist a flexible texturizing spray and gently rake through with wide fingers to break up the pattern into relaxed, piecey waves.
How to Set Hair for Beginners
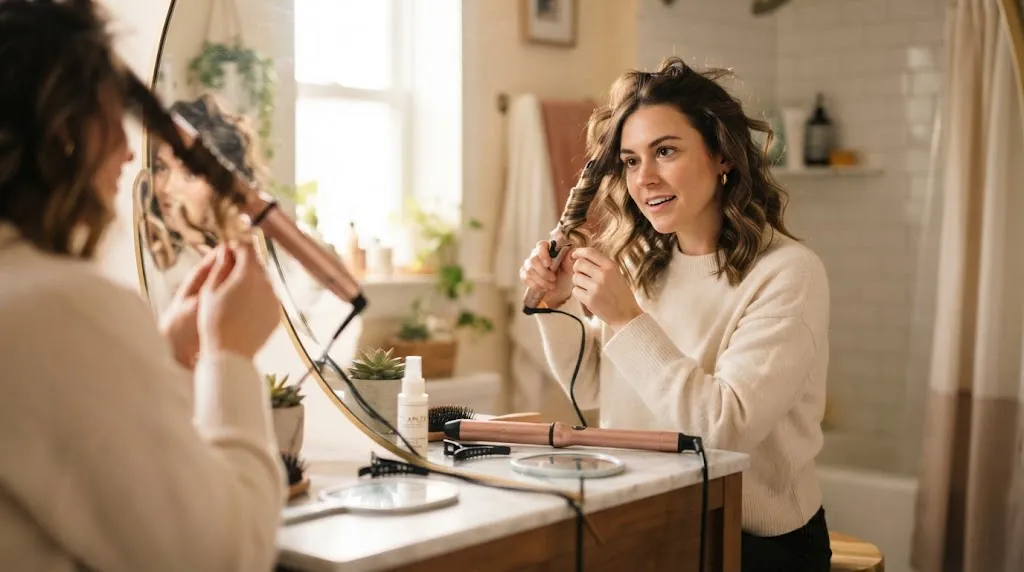
If you are learning how to set hair female styling methods for the first time, stick to a streamlined process before attempting complex multi-tool sets:
Prep with heat protectant on damp hair: Spray evenly from mid-lengths to ends before introducing any heat tool to seal the cuticle and prevent thermal damage.
Set in clean 1-inch sections: Work from the bottom up using sectioning clips. Attempting to style chunks that are too thick results in uneven heat transfer and flat spots.
Cool before touching: Let every curl sit completely undisturbed until it feels cool to the touch before brushing out; brushing hot hair instantly collapses the wave.
Beginner Mistakes to Avoid:
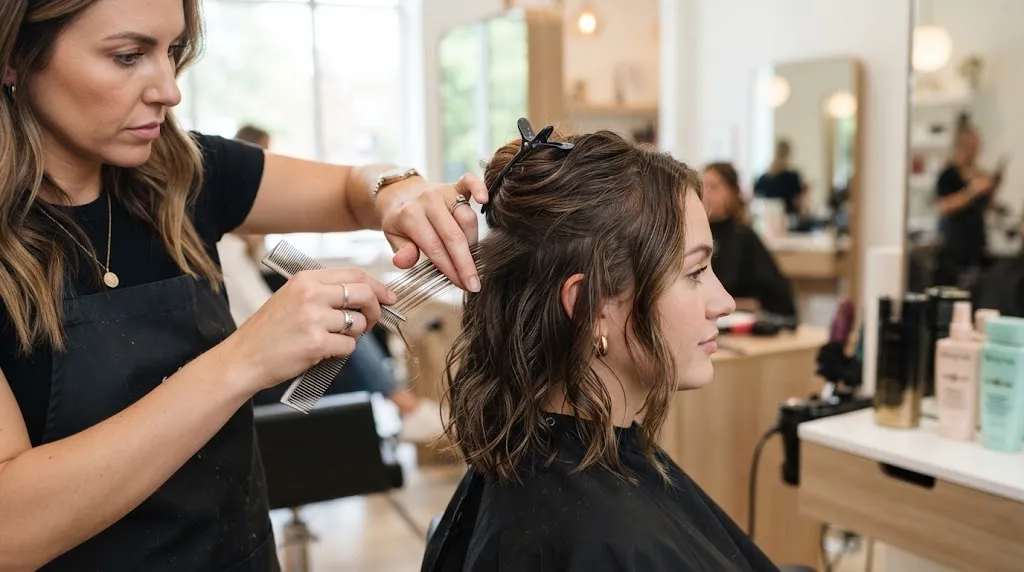
Styling damp hair with hot irons: Heat applied to trapped water creates steam inside the cortex, causing internal damage and frizz.
Skipping sectioning: Grabbing random chunks leads to missed pieces underneath and inconsistent wave patterns.
How to Set Short Hair
Setting short hair requires a different approach than long hair because short strands lack the physical weight needed to pull down volume. While this makes short hair cool down and lock into place much faster, it also means every crease, bend, or line from a hot tool or clip shows up immediately.
To set short hair successfully, focus on root direction, smaller tool barrels, and precise airflow control.
Key Adjustments for Short Hair
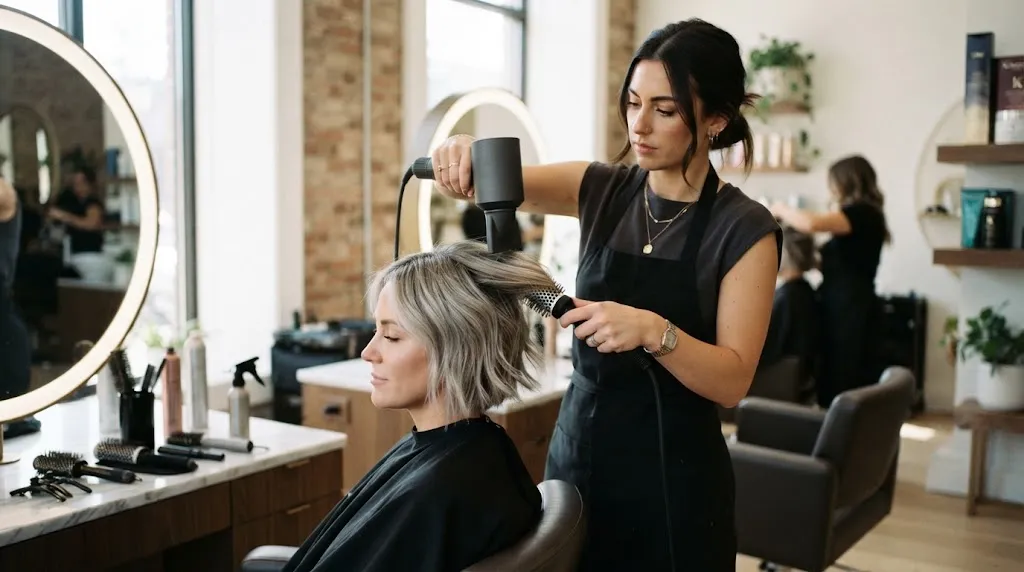
Use smaller barrel sizes: Switch to a 0.5-inch to 0.75-inch curling iron or a small round brush. Larger tools cannot wrap short strands around the barrel enough times to create tension or shape.
Control root direction first: Blow-dry roots in the exact direction you want them to lay while the hair is wet. Once short roots dry out, changing their direction with hot tools is nearly impossible without re-wetting.
Work in thinner horizontal sections: Take 0.5-inch sections rather than standard 1-inch sections so heat penetrates all the way to the roots without burning your scalp.
Use concentrated airflow: Attach a nozzle concentrator to your blow dryer to direct air precisely onto small sections without blowing neighboring short pieces out of place.
How to Wet Set Hair
A wet set is a traditional styling technique where damp hair is wrapped around tools like magnetic rollers, flexi-rods, or foam curlers and allowed to dry completely before removing them. Because the hair transitions from wet to dry while stretched in a rolled position, its hydrogen bonds reset into the shape of the roller, producing long-lasting volume, shine, and curl definition without thermal iron damage.
Step-by-Step Wet Set Method
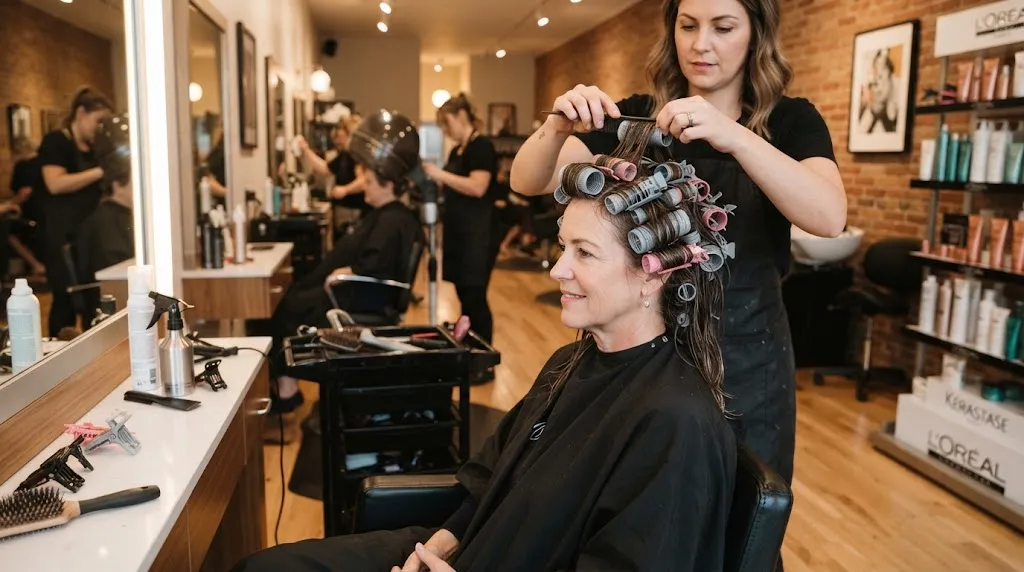
Wash and detangle: Cleanse hair thoroughly and apply a leave-in conditioner to lock in moisture, combing through to remove all knots.
Apply setting lotion or wrap mousse: Work a lightweight setting foam evenly from roots to ends to give strands structural memory without stiff crunchiness.
Roll under firm tension: Working in small 1-inch damp sections, pull the hair taut and wrap the ends smoothly around the roller, rolling all the way to the scalp and securing with a clip. Keep a spray bottle nearby to keep sections damp as you work.
Dry thoroughly: Sit under a hooded dryer for 45–60 minutes, or wrap the rollers in a silk scarf to sleep overnight. The hair must be 100% dry before removal; removing rollers early while damp causes instant frizz and curl collapse.
Unroll and separate: Gently unwrap each roller without pulling, then rake through curls with oiled fingertips to soften the style.
Best Use Cases for a Wet Set
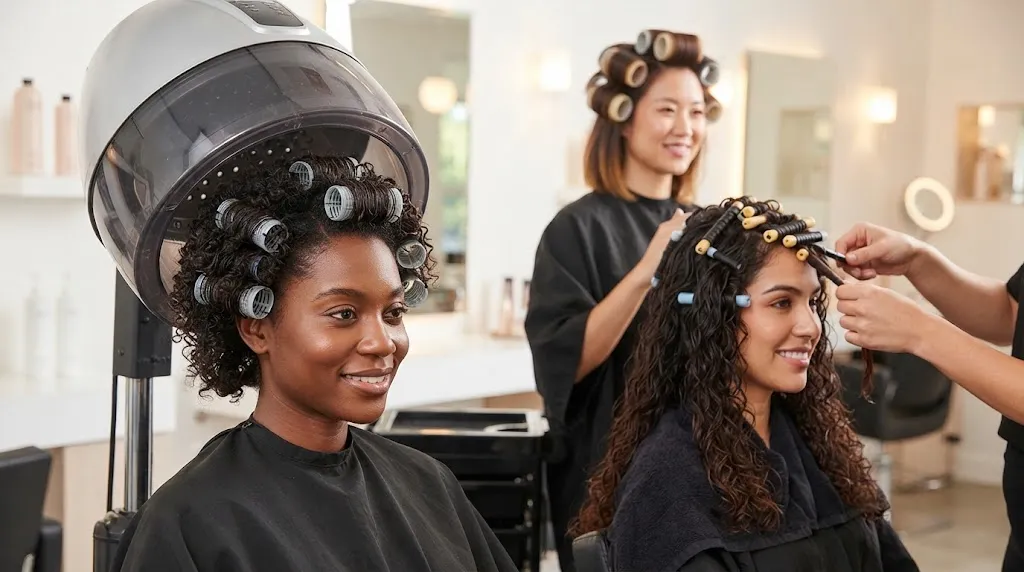
Heat-free styling: Ideal for damaged, color-treated, or fragile hair that needs a break from hot irons.
Coarse, curly, or relaxed hair: Provides extreme longevity and smooth control that resists humidity better than blow-dry styling.
Maximum root volume: Rolling at a 90-degree angle from the scalp creates structural height that stays lifted for days.
How to Set Hair Straight
Learning how to set hair straight so it stays pin-straight all day requires more than just running a flat iron down random sections. A lasting straight set relies on a combination of tension blow-drying, strategic product layering, and precise iron passes that seal the cuticle against environmental humidity.
Prep with a straightening cream: On damp hair, apply a heat protectant smoothing lotion or straightening cream. These products contain lightweight silicones that coat the hair shaft, reducing friction and repelling moisture that causes reversion.
Blow-dry smooth with the chase method: Blow-dry using a paddle brush held firmly underneath each section, following the brush downward with the dryer nozzle pointed toward the ends. This flattens the cuticle layer before any direct hot tool contact.
Flat iron in thin 0.5-inch sections: Clamp a ceramic or titanium flat iron set to 350°F–400°F (adjust based on hair thickness) at the roots. Chase the iron down the section using a fine-tooth comb immediately in front of the plates. The comb aligns the individual strands so the iron applies even heat in a single pass rather than multiple damaging passes.
Lock in with a anti-humidity serum: Finish by smoothing 1-2 drops of a lightweight anti-frizz serum or dry oil over the surface to block out air moisture and seal the straight shape.
How to Curl and Set Hair
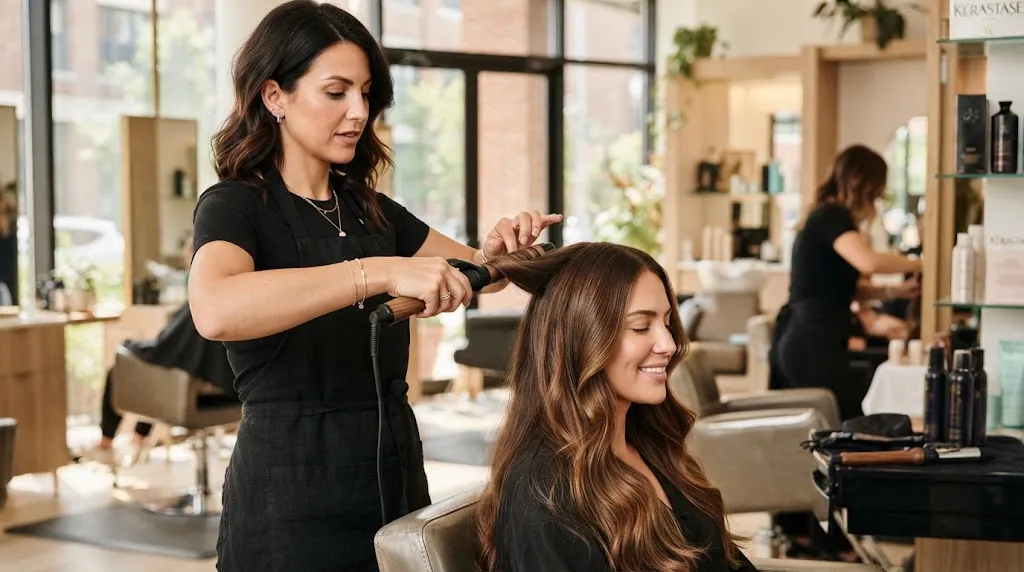
A curl set combines thermal shaping with a dedicated pinning phase. Hot irons temporarily alter the internal bonds of the hair, but if you drop the curl while it is still warm, gravity pulls the shape out instantly. The key to long-lasting hold is securing each curl in its compact shape until the keratin structure fully cools and hardens.
The Curl + Set Combo Technique
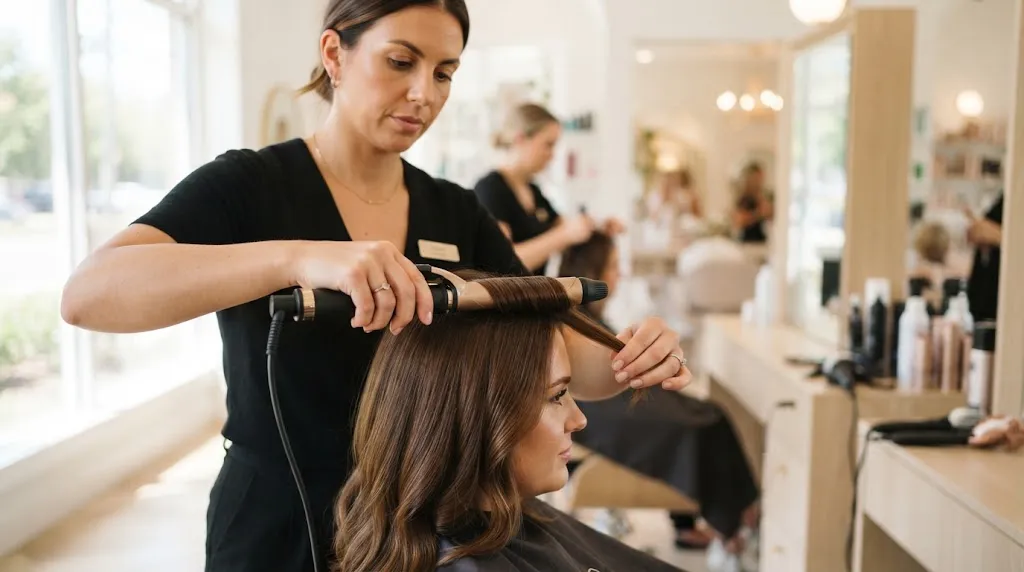
Apply a setting spray: Mist each 1-inch section with a thermal setting spray right before curling. Unlike standard flexible hairsprays, setting sprays react to heat to give the curl memory.
Wrap and hold: Wrap the section around your curling iron or wand, holding for 8 to 12 seconds depending on hair density.
Pin immediately: Gently slide the curl off the barrel into your palm, keeping the coiled ringlet intact. Roll the coil flush against your scalp and secure it with a metal single-prong clip.
The 15-minute cool-down: Allow all pinned curls to sit undisturbed for at least 15 minutes, or until the hair is completely cool to the touch. This step resets the hydrogen bonds firmly in the coiled state.
Unpin and finish: Remove the clips starting from the nape of the neck up. Spray light texture hairspray over the coils before gently brushing them out with a wide-tooth comb or paddle brush for smooth, long-lasting waves.
The 3-Hair Rule Explained
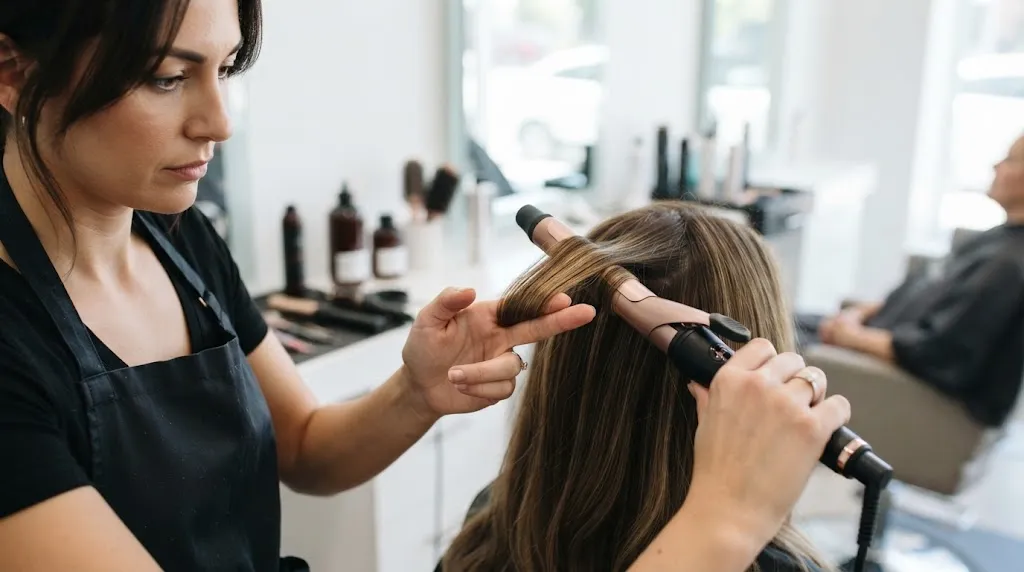
The 3-hair rule is a precise styling technique used when curling or rolling hair, where you grab only as much hair as can lay flat across three finger-widths of your iron or roller barrel. Keeping section thickness restricted to this width ensures the core of the strand receives the exact same temperature and tension as the outer layer.
Adhering to this rule produces a significantly more natural, uniform set because heat penetrates evenly through the entire section. When hair sections are too thick, the outer strands get scorched while the center remains under-heated, leading to droopy, uneven curls that fall out within hours.
Can You Set Hair Permanently?
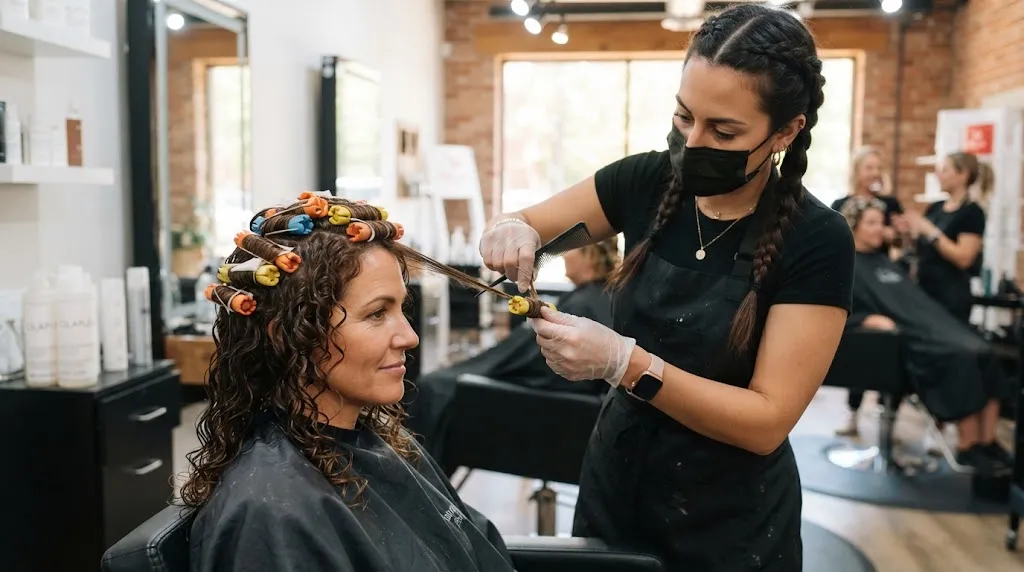
No, traditional hair setting cannot permanently alter your hair shape. Thermal sets, wet sets, and blowouts break and reform temporary hydrogen bonds, which reset as soon as your hair encounters moisture, steam, or water.
To set your hair permanently, you need a chemical process like a perm or relaxing treatment. These chemical services break and restructure the disulfide bonds inside the hair cortex, permanently locking in the new shape until new hair grows out from the roots.
Temporary Set: Zero chemical damage, highly versatile, lasts 1 to 4 days, but collapses in high humidity.
Permanent Perm: Lasts 3 to 6 months and resists water, but alters internal protein structure and requires chemical maintenance.
Consider a professional perm if you want consistent daily texture or curl without applying hot tools every morning. Because perms involve strong alkaline solutions, consult a licensed stylist to assess your hair strength before committing.
How to Set Hair at Home
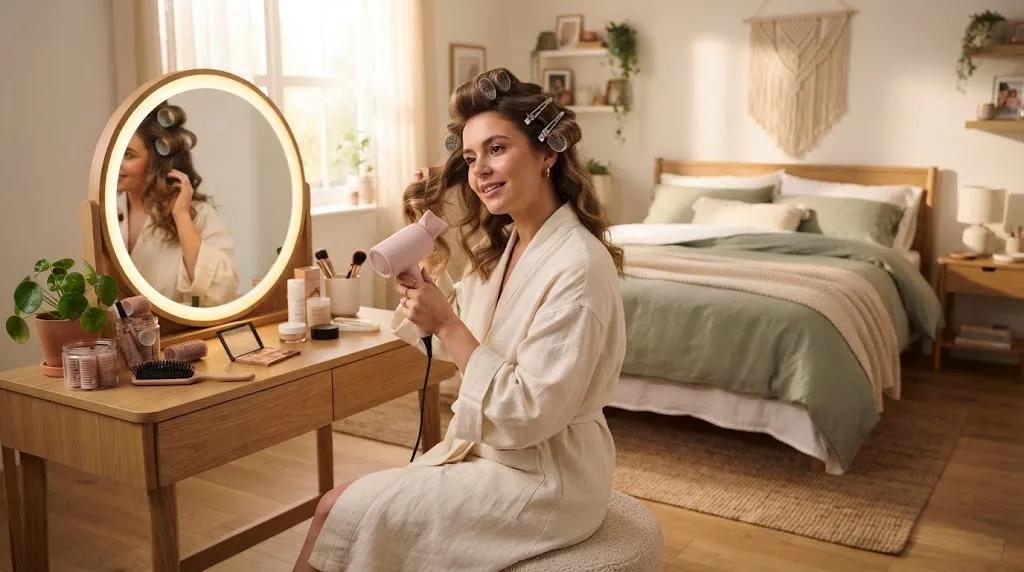
Setting your hair at home does not require expensive salon-grade workstations—just smart adjustments with budget-friendly tools.
Use flexible flexi-rods or velcro rollers: These cost a fraction of high-end hot tools and allow you to execute wet sets or heat-free volume over night.
Substitute setting lotion with homemade diluted conditioner: Mix a tiny dab of leave-in conditioner with warm water in a spray bottle for an affordable setting prep that adds slip without buildup.
Focus on clean sectioning over fast styling: Use inexpensive plastic alligator clips to keep your working area clean, ensuring heat applies evenly even with a basic drugstore blow-dryer or flat iron.
Common Mistakes That Stop Hair From Setting
When your set fails to hold, the issue is almost always a breakdown in thermal control, product application, or moisture balance. Correcting these five common errors will instantly double the longevity of your style.
Using Too Much or Too Little Product
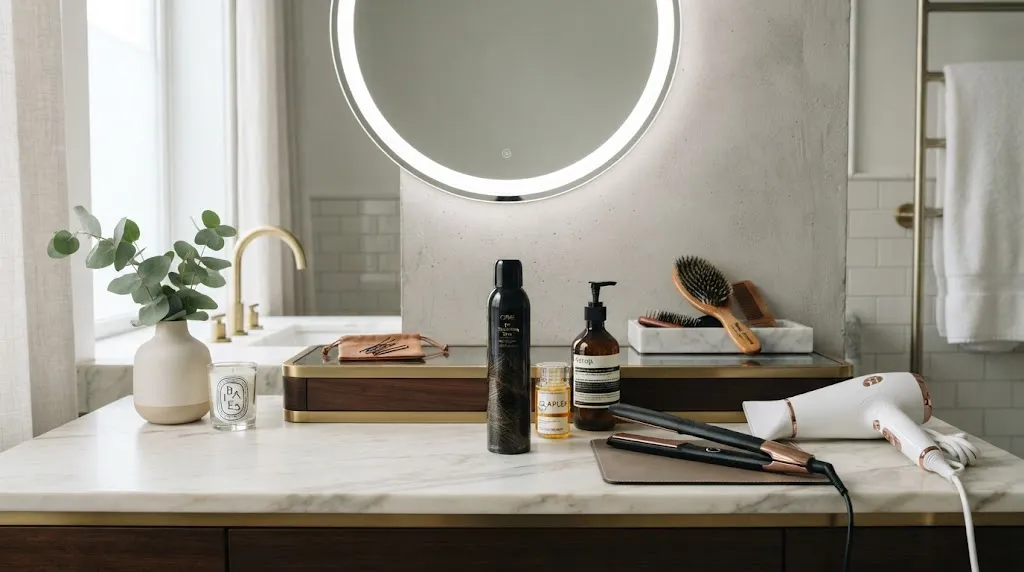
Product application requires a precise balance. Using too little product leaves the hair shaft vulnerable to humidity and lacks the structural polymers needed to hold a new shape. Conversely, using too much product—or applying heavy waxes and creams directly to the roots—weighs down the hair fiber, causing gravity to pull the set flat within an hour. Aim for a nickel-sized amount of cream or a light, even mist of spray.
Releasing Before Hair Fully Cools
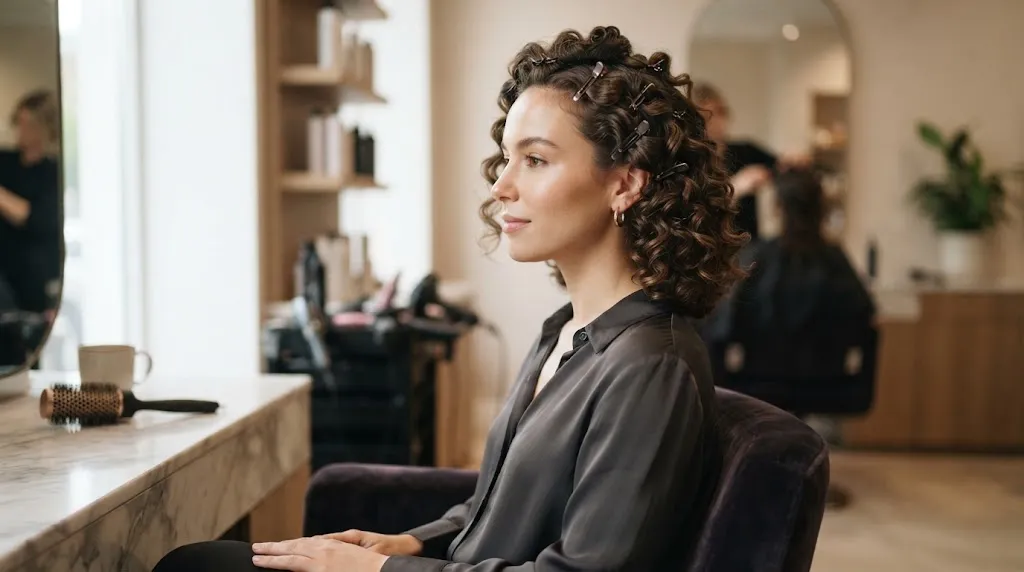
Hydrogen bonds are reshaped by heat, but they only solidify into their new form once the hair fiber returns to room temperature. Dropping a curl off a barrel or pulling out a roller while the strand is still warm allows gravity to stretch out the warm, pliable bonds, ruining your curl pattern before you even finish styling.
Wrong Tool Size for Your Hair Type
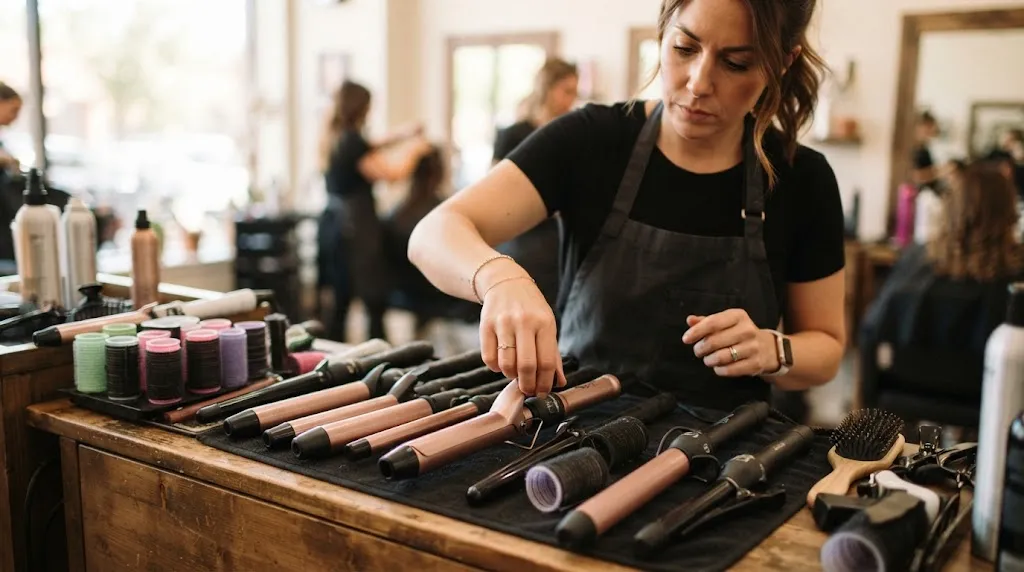
Matching barrel or roller diameter to hair length and density is critical. Using a 1.5-inch barrel on short or fine hair will result in loose, temporary bends rather than a true set, as the strand cannot wrap around the barrel enough times to absorb heat evenly. Conversely, using a tiny 0.5-inch barrel on long, heavy hair creates overly tight ringlets that collapse under their own weight.
Humidity and Environmental Factors
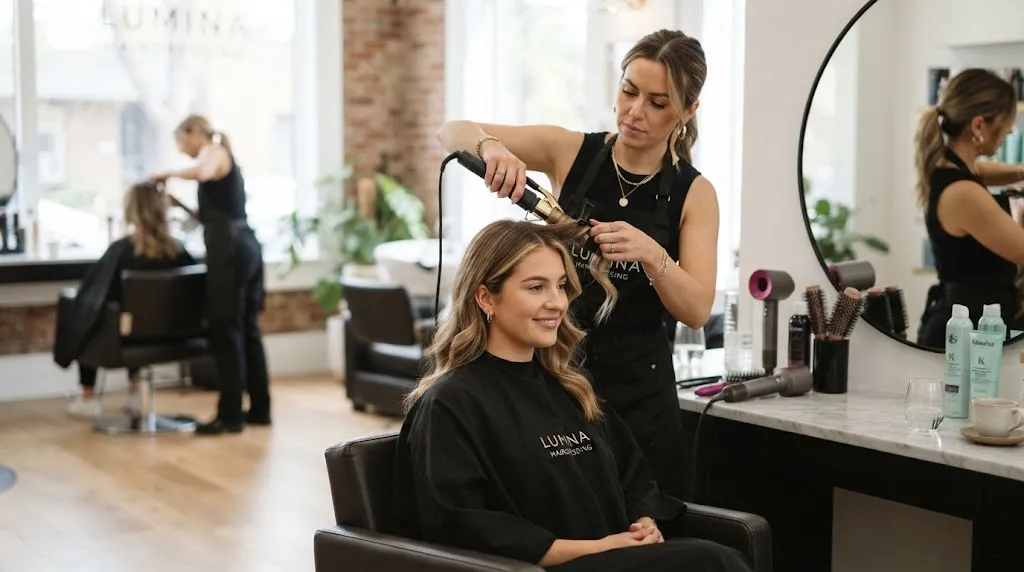
High humidity introduces airborne moisture that instantly breaks temporary hydrogen bonds, causing straightened hair to frizz and curled hair to drop. Failing to seal your finished style with a humidity-blocking barrier—such as an anti-frizz serum or light hairspray—leaves your set exposed to environmental moisture the second you step outside.
Skipping Heat Protectant
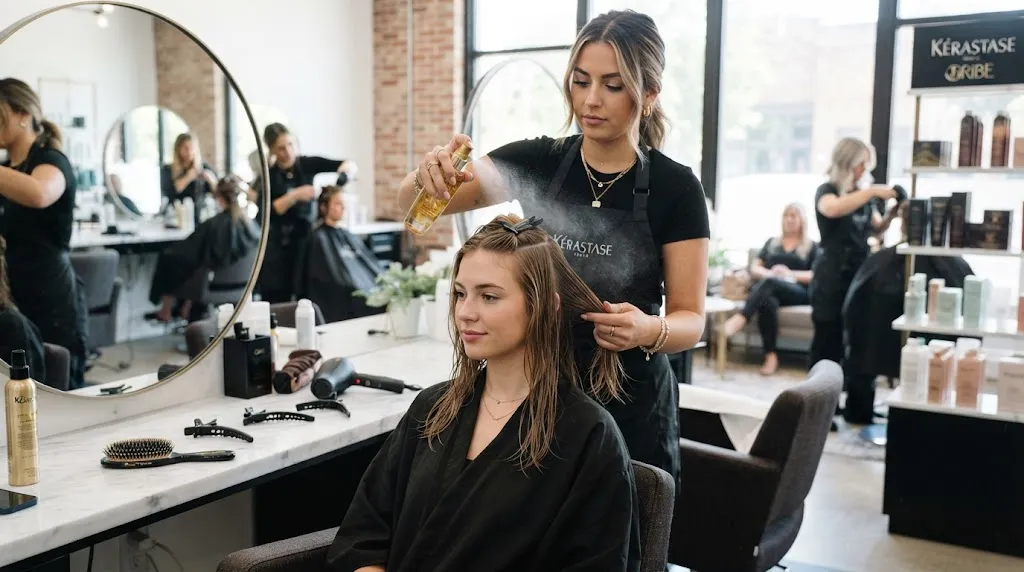
Unprotected hair suffers cuticle damage over time, leading to porous, high-porosity strands. Damaged, porous hair struggles to hold moisture balance and loses its elasticity, making it significantly harder to hold a curl or stay smooth compared to healthy, sealed hair fibers.
What Is the Best Way to Set Your Hair?
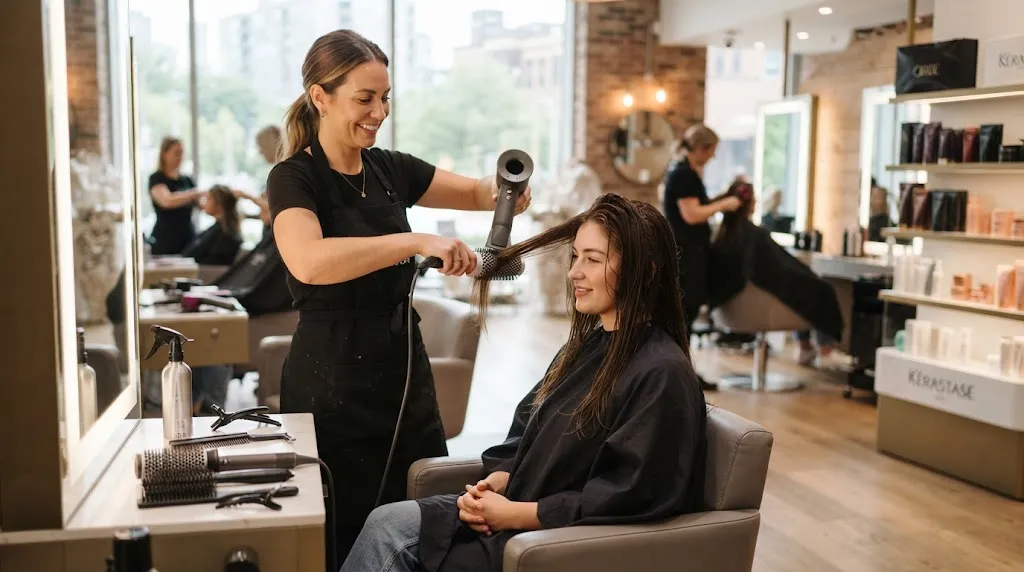
The best way to set your hair is to prep damp strands with a lightweight pre-styler, apply heat or tension in clean 1-inch sections, and allow every section to cool completely before brushing. Completely cooling the hair before final styling locks the temporary hydrogen bonds into place for all-day hold.
Fine or Flat Hair: Use a lightweight volumizing mousse paired with a Curling Iron Set or small Roller Set.
Coarse or Frizzy Hair: Opt for a Wet Set or a precise Flat Iron Straight Set using anti-humidity serum.
Short Styles: Follow the dedicated How to Set Short Hair technique using small barrels and nozzle concentrators.
Men’s Styles: Apply pre-styler to damp hair and follow the Pompadour Set or Quiff Set airflow directions.
Frequently Asked Questions
Is setting hair bad for hair health?
Setting hair is not inherently damaging if done correctly. Damage occurs primarily when hot tools are used at excessive temperatures (above 400°F) without heat protectant, or when wet hair is clamped with hot flat irons. Wet sets and low-heat blowouts are low-damage alternatives that preserve hair integrity.
How long does a hair set typically last?
A well-executed set usually lasts between 2 to 4 days, depending on your hair texture, weather conditions, and scalp oil production. Fine hair and humid climates shorten longevity, while coarse or textured hair sets can often last up to a week with nighttime protection like a silk bonnet.
Can I set my hair without heat?
Yes, overnight wet sets using foam rollers, flexi-rods, silk ribbons, or pin curls set hair without any thermal damage. Heatless methods rely entirely on hair transitioning from wet to dry around a form, which resets hydrogen bonds purely through evaporation and mechanical tension.
How often should I set my hair?
Heat-based sets should be limited to 1–2 times per week to prevent moisture loss and thermal damage. Heatless wet sets, however, can be done as frequently as you wash your hair, provided you avoid tight tension at the roots that could stress the hair follicles.
Final Tips for a Longer-Lasting Set
Protect your hair overnight: Wrap your set in a silk or satin scarf, or sleep on a satin pillowcase to eliminate friction and preserve shape while sleeping.
Keep water and steam away: Wear a lined shower cap during baths, and avoid high-humidity environments until your style’s seal has fully cured.
Preserve roots with dry shampoo: Apply a light spray of dry shampoo at the roots on day two to absorb scalp oils before they weigh down your volume.
Hands off: Refrain from constantly touching, twisting, or running fingers through your set during the day, as natural hand oils break down hold products.